Showing posts with label design_teacher. Show all posts

Thursday, October 6, 2016

Read How to add a texture in Blender Now

rendered result

In this tutorial you will learn how to add a texture in Blender using Cycles render.

Step 1

Using whatever you have made or imported change the default screen layout to compositing for a detailed result.

changing layout to compositing 

Step 2 

Change blender render to cycles render at the top of the screen.
Blender Render

Cycles Render

Step 3

Right click in the plane, click on the material button on the top right corner of the screen, click new.

adding a material

Step 4

If a material is already in place use the subtract button then press new.

subtracting the existing material 

Step 5

Click on the dot right of the white colour.


Step 6


Select image texture, press open and navigate to the image you want to use, once selected open the image/texture.
opening a image texture

Step 7

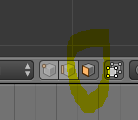
To map the image on the plane go to edit mode by pressing Tab or changing it from the bar menu.

changing to edit mode

Step 8

Press A to deselect then A again to select everything. go to mesh, UV unwrap, unwrap.

unwrapping the cube

Step 9

On the left side the plane will be unwrapped. Next load the image.

applying the image onto the cube

Step 10 

Switch back to object mode, switch back to the default layout, go to render to see the result.

changing to rendered view


Rendered result 


Read How to set up margins and guidelines in Photoshop Now

Rulers Set up in Photoshop
In this tutorial you will learn how to set up the use of Rulers in Photoshop. Rulers are use to help you to position images and text in the exact position you require when using Photoshop.


Step One:

Select file and new and create a new file. I have chosen the settings off 8.5 inches for the width, 11 inches for the height, with 300 for the resolution and RGB color for the color mode.


Setting up a new file for Photoshop

Step Two:

For this demo I am going use some text to show how using rulers can position your text correctly.

Sample of a new canvas for setting up the ruler example

Step Three:

To set up the rulers manually, click view and a drop down menu will appear.
View drop down menu in Photoshop

Click to turn the rulers on. A guide will then appear with numbers on the top (Horizontal) and on the left hand (Vertical) side of the page. This is your rulers guide.

Image of Rulers as the appear in Photoshop


Step Four:
Now with your mouse, hover over the numbers until a white cursor appears. Click and drag down the top line and place onto the template at desire level. Clicking and the pulling down of the rulers (Horizontal).


Adding of the Rulers (horizontal)

Bring the rulers in from the left hand size (Vertical)

Adding of Rulers (Vertical)

All the rulers in place.

All the Rulers in the correct positions

Step Five:

As you can see from the above image the text is on the outside of the rulers on the left hand side. To move the text into the correct place, select the text layer, on the right hand size and with the move tool and move into position. 

Rulers and Text in the correct position

Step Six:

You can also set up the rulers to the exact measurement required. To do this, again select view, and the drop down menu will appear, scroll down and select “New Guides”. A pop up menu will appear and you are able to select the correct measurement for the rulers by selecting either horizontal or vertical position.

Drop down menu once selected the View option on Photoshop

Pop up menu to select the correct measurements 

Selecting the measurements in the New Guide

For this demo I selected the measure for the Horizontal (top) for 3cm, with the Vertical (left side) set also at 3cm. Again for the bottom Horizontal and right side Vertical set the setting to this time 3mm for the rulers to appear.  Example show in the images below.


Creating the Horizontal Ruler with the correct measurement

New guides rulers for Horizontal and Vertical (3cm)

Horizontal and Vertical rulers appearing in Photoshop


Rulers in place after creating them with the new guide option in the view section of Photoshop. To move the text into the correct place, select the text layer, on the right hand size and with the move tool and move into position. 

Rulers and Text in the correct position on Photoshop

Read How to model and texture a chair in Blender Now

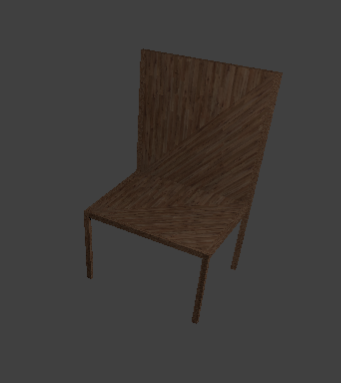
Chair with texture

In this tutorial you will learn how to create a basic chair and add a texture onto the chair.


Step 1

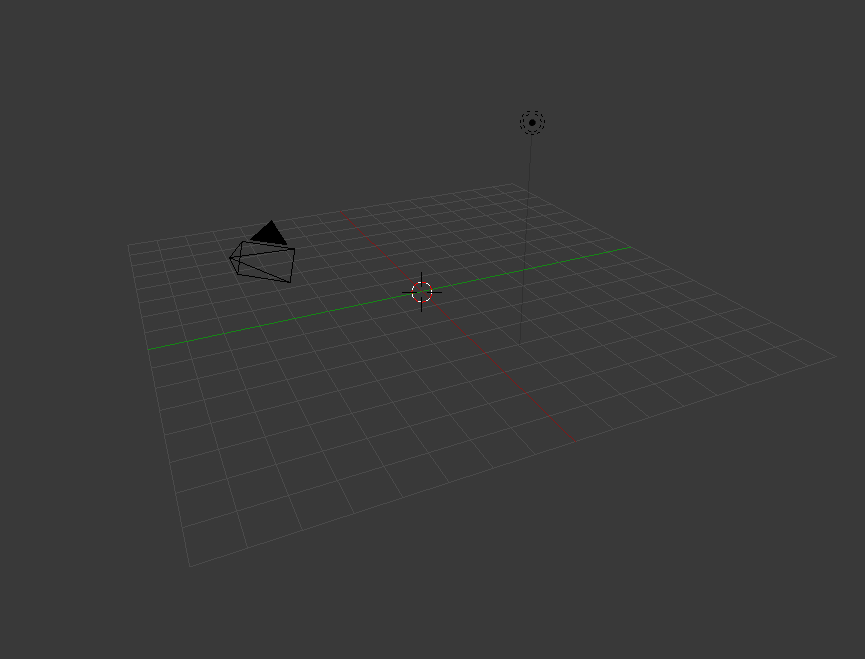
Delete the default cube by pressing X and delete.

with no cube 

Step 2

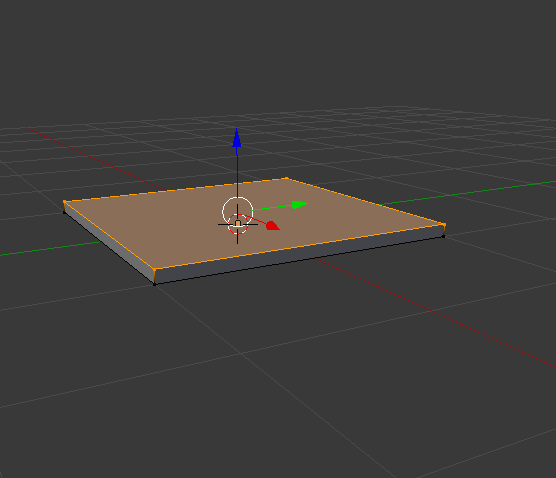
Add mesh plane or shift A mesh and plane.Zoom in with the middle mouse button, or press 1 for a side view, press Tab to go into edit mode it should turn orange. E to extrude.

plane that's extruded


Step 3 

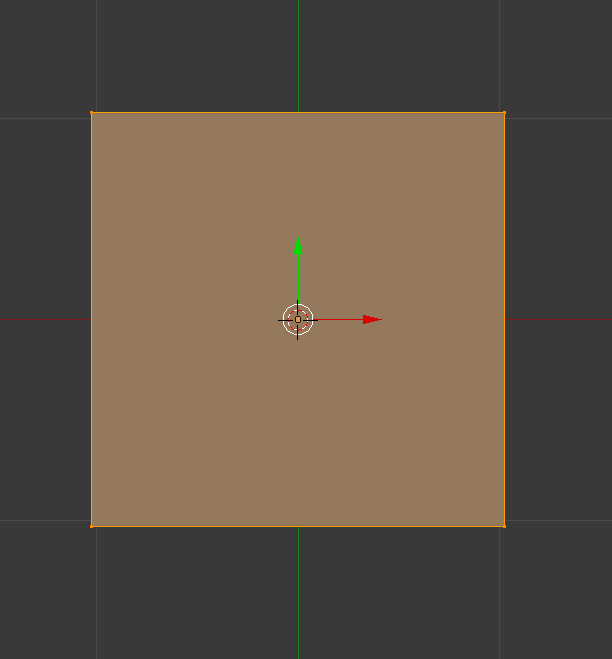
Press 7 on the number pad to get a better view. Use the middle mouse button to zoom in or out.

top down view of the plane in edit mode

Step 4

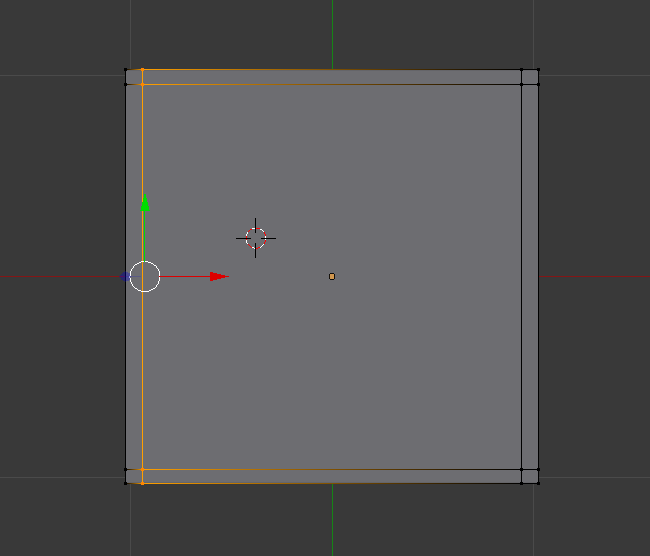
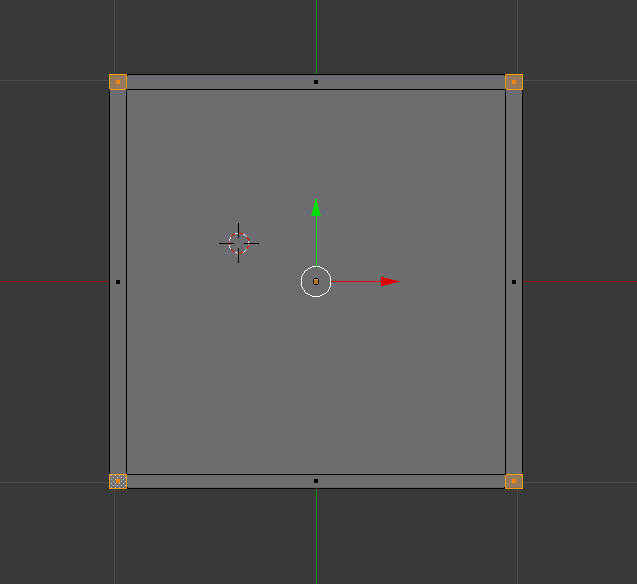
Press ctrl R to create a loop and place a loop at each side. Total of 4 loops.

plane with four loops

Step 5

Select face select. 

face select

Step 6 

Press the number 8 to flip to the opposite side(underneath the plane),Select one box then press Shift and right click on each of the boxes.

plane with all four corners selected

Step 7 

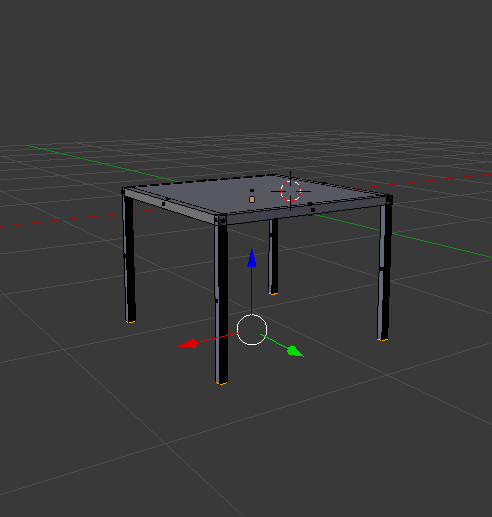
Press number 1, press E to extrude to your desired length. Use the middle mouse button to move around to get different angles.

plane with all legs

Step 8 

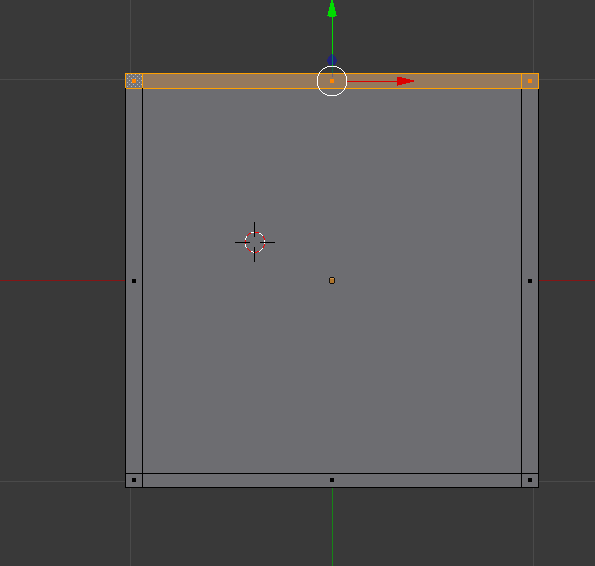
Press A to deselect, select one side and E to extrude. 

top down view with one side selected

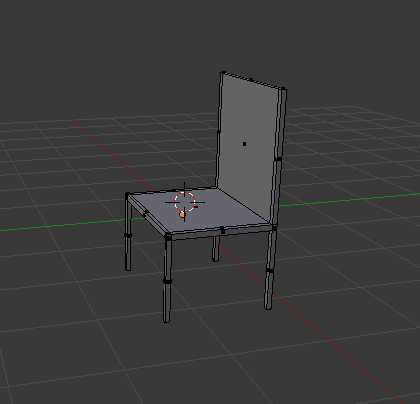
basic model of a chair

Step 9 

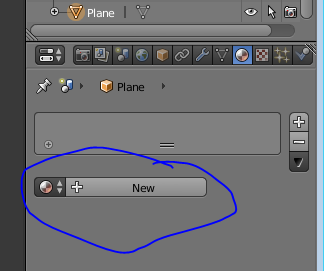
To add a texture onto the chair go to materials bar on the top right corner of the screen, click on new.

adding a new material

Step 10

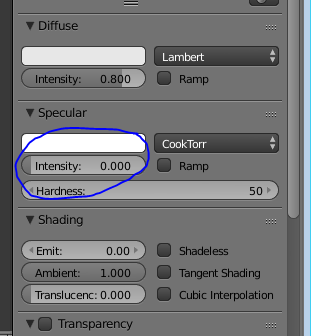
Change the specular to zero so a glossy effect wont appear onto the chair.

lowering the specular

Step 11 

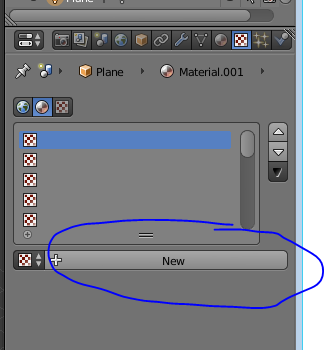
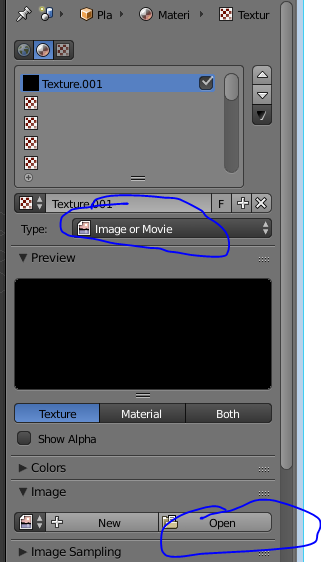
Go to the texture section beside the material on the top right corner, click on new, change the type image to image and movie, click on open and navigate to your texture that you have downloaded.

adding a new texture

importing a texture

Step 12 

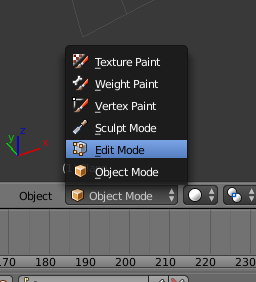
The texture will look like this on the chair, to fix this the texture needs to be unwrapped. Change object mode to edit mode.
changing to edit mode
chair with texture

Step 13 

Go to mesh, uv unwrap, unwrap. this will fix the texture on the chair.

unwrapping 


rendered result 

finished chair with a texture

Read How To Create A Tileable Texture Now

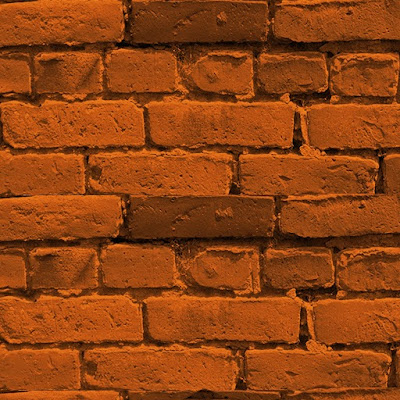
Tillable Texture
This image shows a finished texture that can be used in a game.

Steps To Create The "Diffuse" Texture


1. Search for an image that will be suitable for your game and an image that you want to be your tileable texture. the best website is http://www.textures.com/

2. Put an image that you want to be your texture in to Photoshop software.

Brick Wall
This image shows the brick wall.

3. Crop the image, removing any potentially troublesome areas.

Crop Image
This image shows Crop tool has taken away part of the image.
4. Then resize image to be power of 2.

Image Resize
This image shows the Image size setting in power of 2.
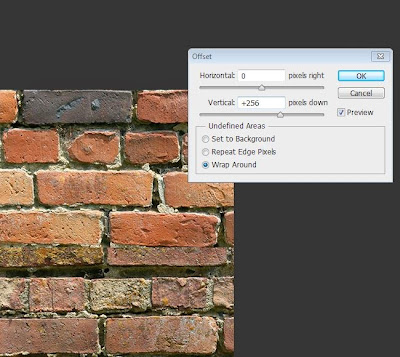
5. Press filter on top software tool bar than select other option and then select offset.

Offset
This image shows the right setting for offset.

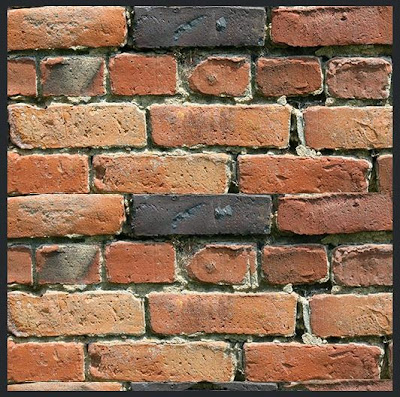
Offset divide image
This image shows an image that is divided into two parts the better one in on top and the bad one is on bottom of the picture. The bottom part will be covered with clone tool.

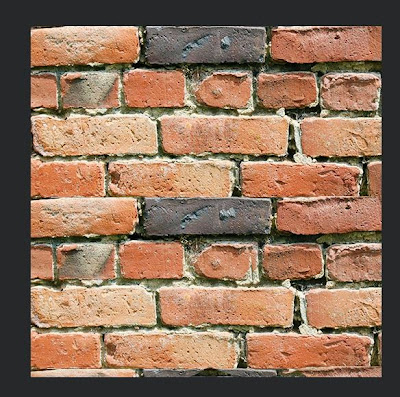
6. We will use clone tool to copy good parts of image.

Clone
This image shows that the clone tool created a copy of the top part of the image.
7. Use Sharpen tool to get rid of the blur but do not over use Sharpen tool because we get bad effect.

8. Use dodge tool to make shadows lighter and burn tool to make highlights darker.

Dodge
This image shows how you can make image brighter by using Dodge Tool.

Burn
This image shows how you can make image darker by using Burn Tool.

9. On tap bar go to Image\Adjustment\Hue and Saturation.Add Hue and Saturation adjustment the way that you want to make this texture more interesting. Make sure that there is not any defects.

Hue & Saturation
This image shows settings for Hue and Saturation Adjustment.

10. If everything is good and you are happy of effects save as targa file. You should save your targa with a resolution of 32 bits/pixel.
A finished texture
This image shows a finished texture that can be used in a game.

Steps To Create The "Normal" Texture

1. Search in Google for NVIDIA texture tool the best way to find it is: “NVIDIA Texture Tools for Adobe Photoshop”. If you cannot find there is a link for website where you can download NVIDIA plugging tool.

https://developer.nvidia.com/nvidia-texture-tools-adobe-photoshop

2. Press download and chose version of Windows that you work with either 32 bit or 64 bit.

3. When download is finish just install the program.

4. Open Photoshop and check in NVIDIA installed right be pressing filter and down in list should be NVIDIA Tool.

5. Open your texture targa file.

This image shows the file name and format that is saved.
6. Unlock layer so you can work with NVIDIA Tool.

This image shows layer blocked.

This image shows layer unblocked.
7. Go to filter and select NVIDIA Tool and take “NormalMapFilter” option.
This image shows setting of NVIDIA Tool.

This image shows some effect that we can get from NVIDIA Tool.
8. Duplicate the layer until you get effect that you want.

This image shows Duplicate layer which give better effect.

This image shows last step that you should take after last duplicate layer.

9. If you are happy of yours effect save in targa(tga) file.

This image shows saving mode.


This image shows a finished texture that can be used in a game. The texture is in targa(tga) file.


This image shows right format that you can save your targa format and it shows the resolution that you can chose the best options is 16 bits/pixel and 32 bits/pixel because is the power of 2.

This link shows Video Tutorial about how to install NVIDIA Texture tool and how creating Tillable texture.

The Next Step

Now that you have created the texture the next step is to import and add them to whatever software you need them for.


close
Banner iklan disini