Showing posts with label renders. Show all posts

Thursday, October 6, 2016

Read How to model and texture a chair in Blender Now

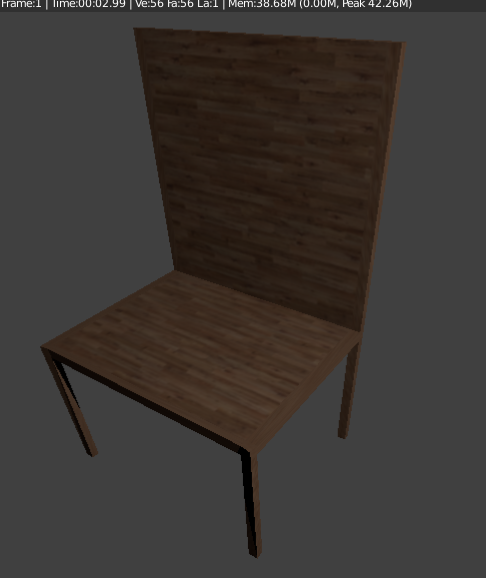
Chair with texture

In this tutorial you will learn how to create a basic chair and add a texture onto the chair.


Step 1

Delete the default cube by pressing X and delete.
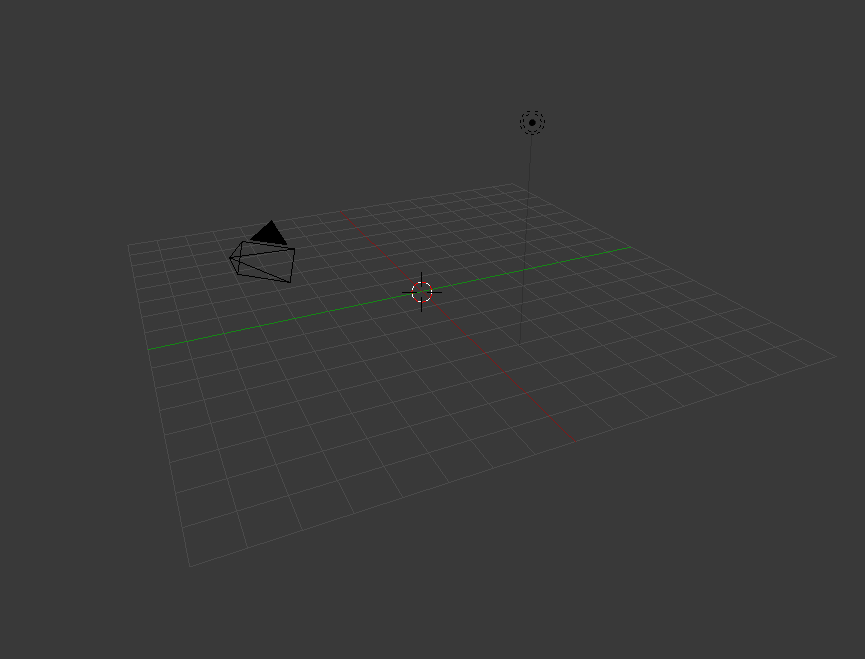
with no cube 

Step 2

Add mesh plane or shift A mesh and plane.Zoom in with the middle mouse button, or press 1 for a side view, press Tab to go into edit mode it should turn orange. E to extrude.
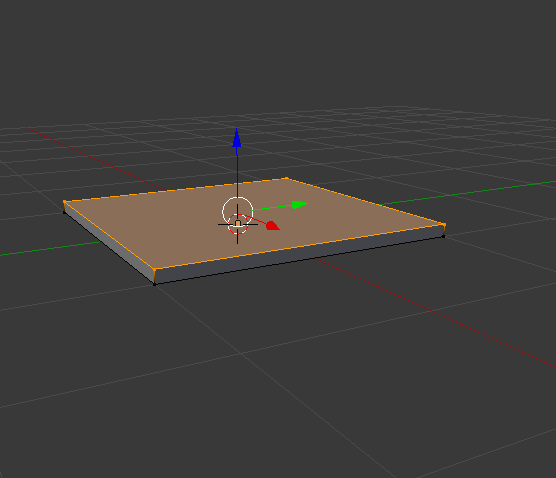
plane that's extruded


Step 3 

Press 7 on the number pad to get a better view. Use the middle mouse button to zoom in or out.
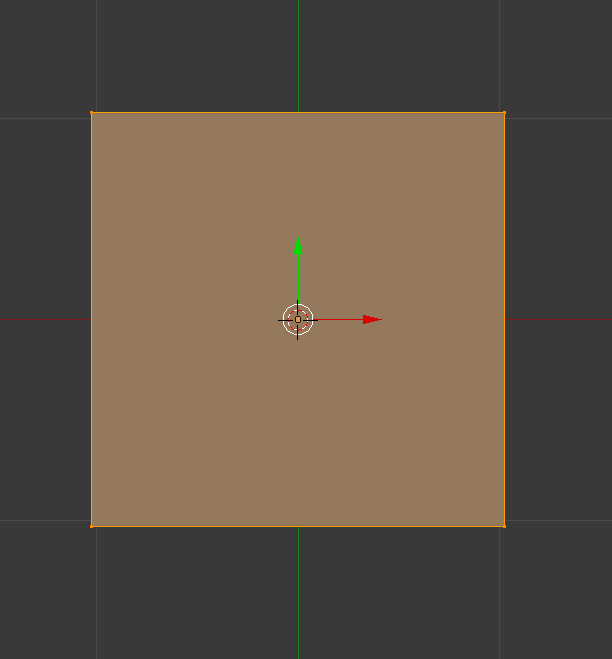
top down view of the plane in edit mode

Step 4

Press ctrl R to create a loop and place a loop at each side. Total of 4 loops.
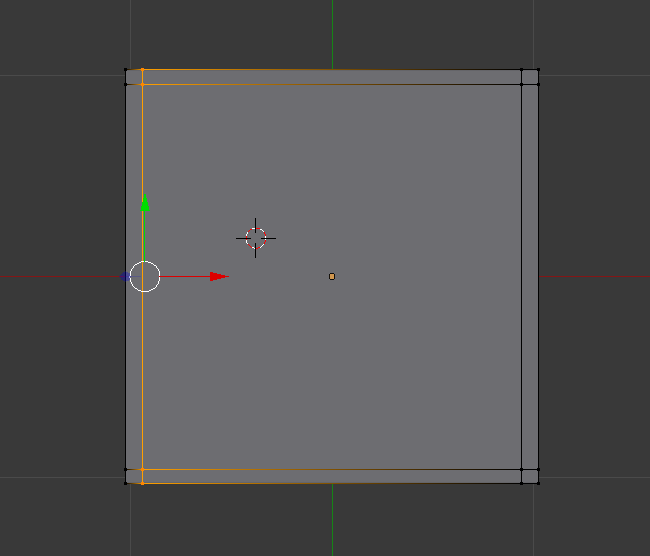
plane with four loops

Step 5

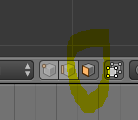
Select face select. 

face select

Step 6 

Press the number 8 to flip to the opposite side(underneath the plane),Select one box then press Shift and right click on each of the boxes.
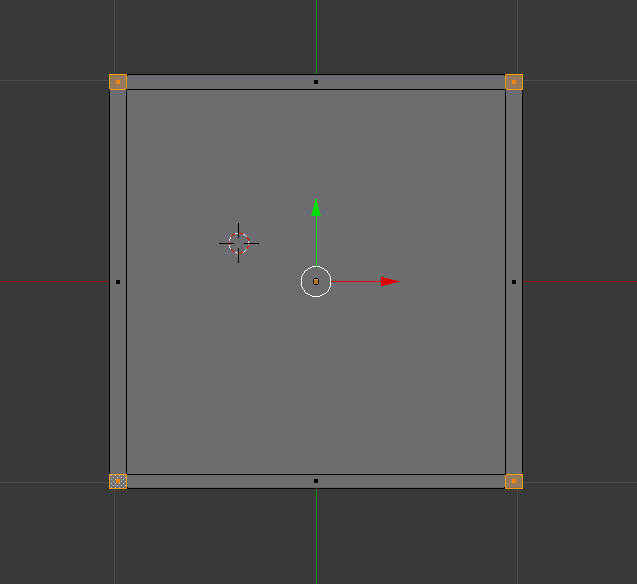
plane with all four corners selected

Step 7 

Press number 1, press E to extrude to your desired length. Use the middle mouse button to move around to get different angles.

plane with all legs

Step 8 

Press A to deselect, select one side and E to extrude. 
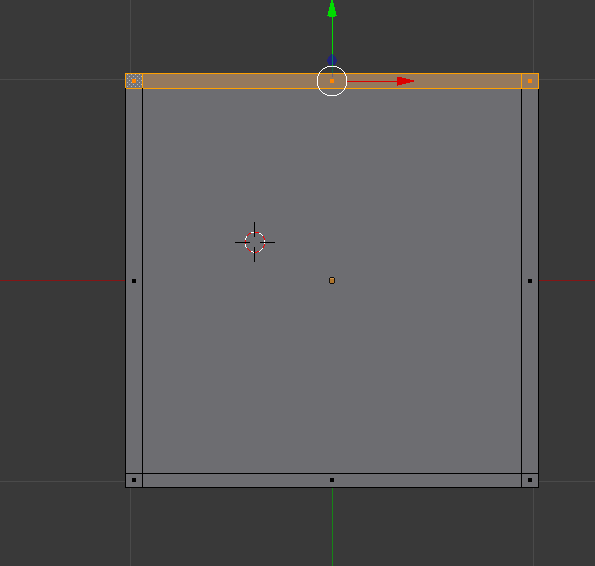
top down view with one side selected

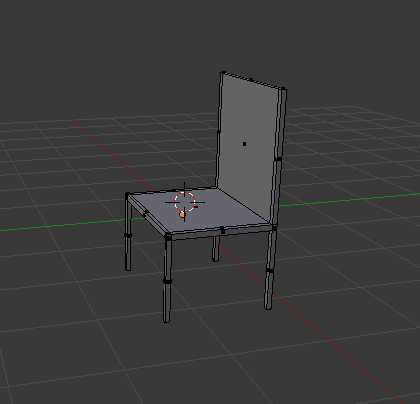
basic model of a chair

Step 9 

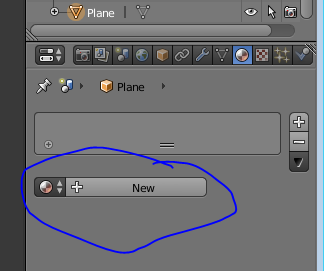
To add a texture onto the chair go to materials bar on the top right corner of the screen, click on new.

adding a new material

Step 10

Change the specular to zero so a glossy effect wont appear onto the chair.
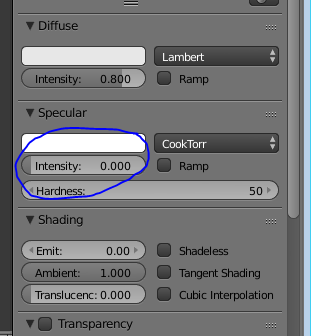
lowering the specular

Step 11 

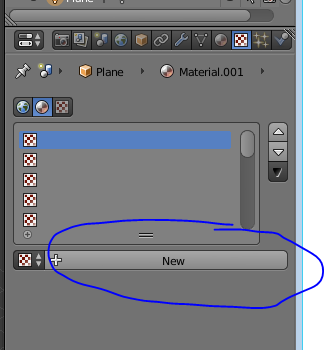
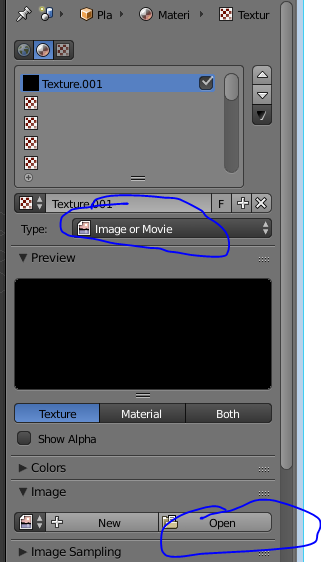
Go to the texture section beside the material on the top right corner, click on new, change the type image to image and movie, click on open and navigate to your texture that you have downloaded.

adding a new texture

importing a texture

Step 12 

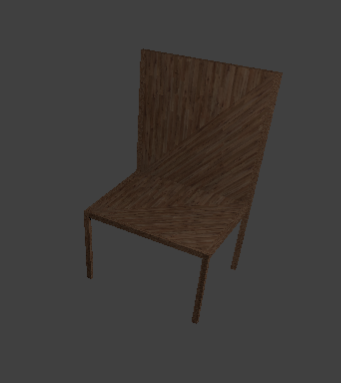
The texture will look like this on the chair, to fix this the texture needs to be unwrapped. Change object mode to edit mode.
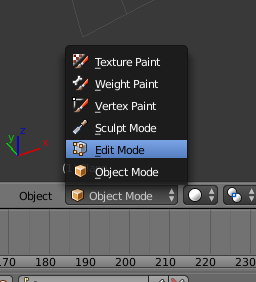
changing to edit mode
chair with texture

Step 13 

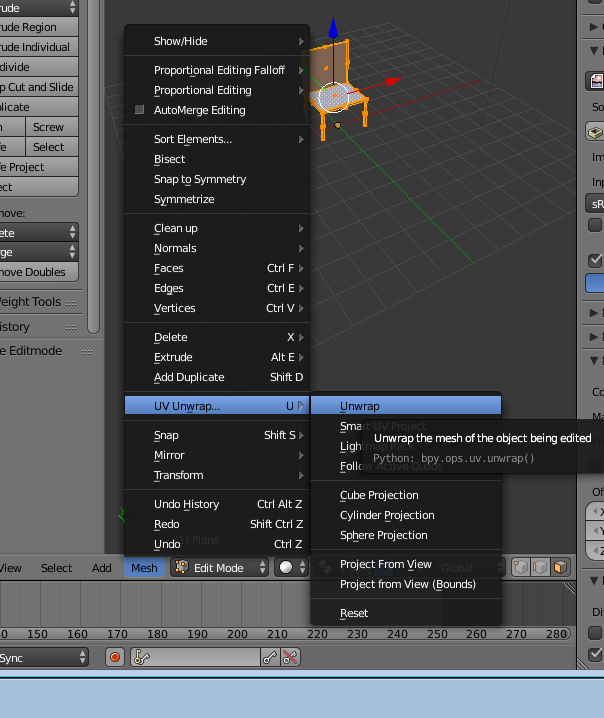
Go to mesh, uv unwrap, unwrap. this will fix the texture on the chair.

unwrapping 


rendered result 

finished chair with a texture

Read Lighting in blender Now


title image
finished lighting result

What is Lighting?

Lighting is a very important topic in rendering, standing equal to modelling, materials and textures. The most accurately modelled and textured scene will yield poor results without a proper lighting scheme, while a simple model can become very realistic if skilfully lit.

Why would you use it? 

People use lighting in order to make their object more realistic and easier to see. It also makes your object better looking in general. You also need lighting in your scene if you wish to create a rendered video or image.


Different types of lighting

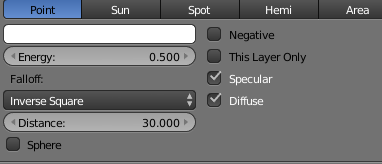
Point light:

1. In order to do this you must press shift + A and select lamp then select point then place this light somewhere on your scene

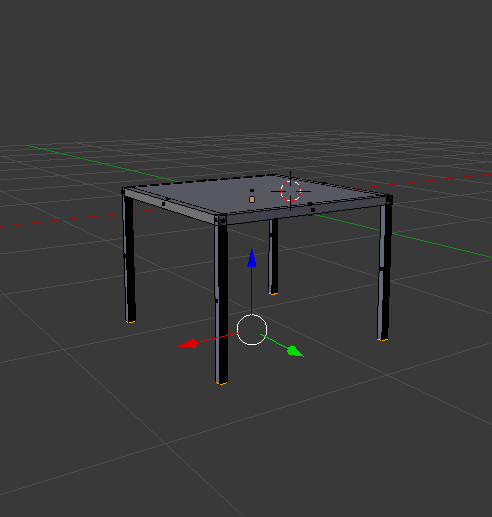
table with a point lamp
point lamp

Sun light:

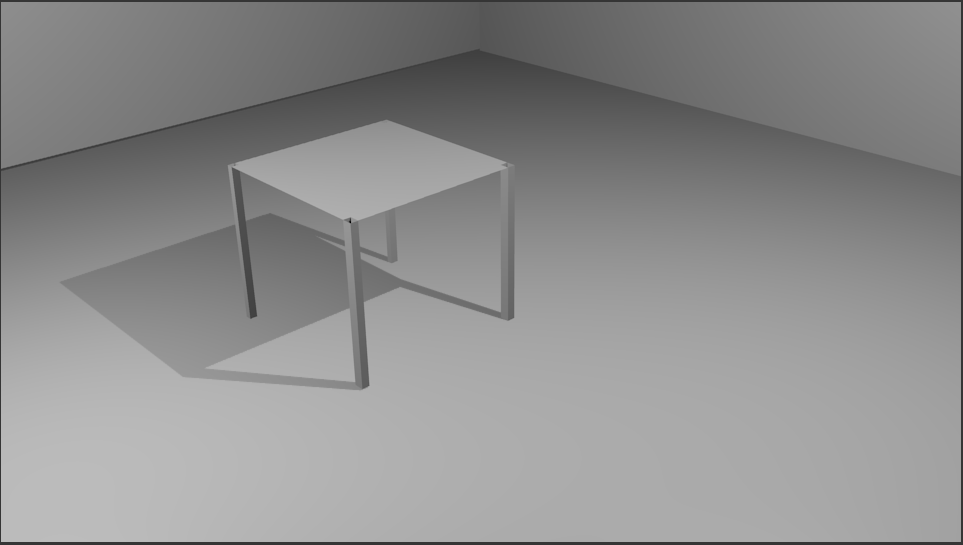
1. Repeat the same process that you did for point but this time select sun, you should try place this light up high and at an angle to your object in order to get a good effect

table with a sun lamp
sun lamp


Spot light:


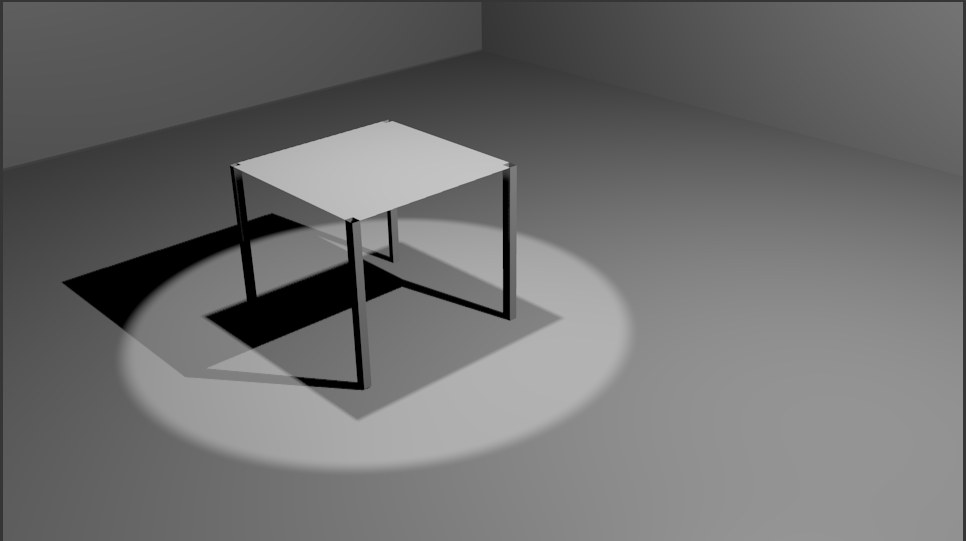
1. Again, repeat the same process except select spot, you should place this above your object in order to get the desired effect. This light emits light in a cone like direction

table with a spot lamp
spot lamp


Hemi light:

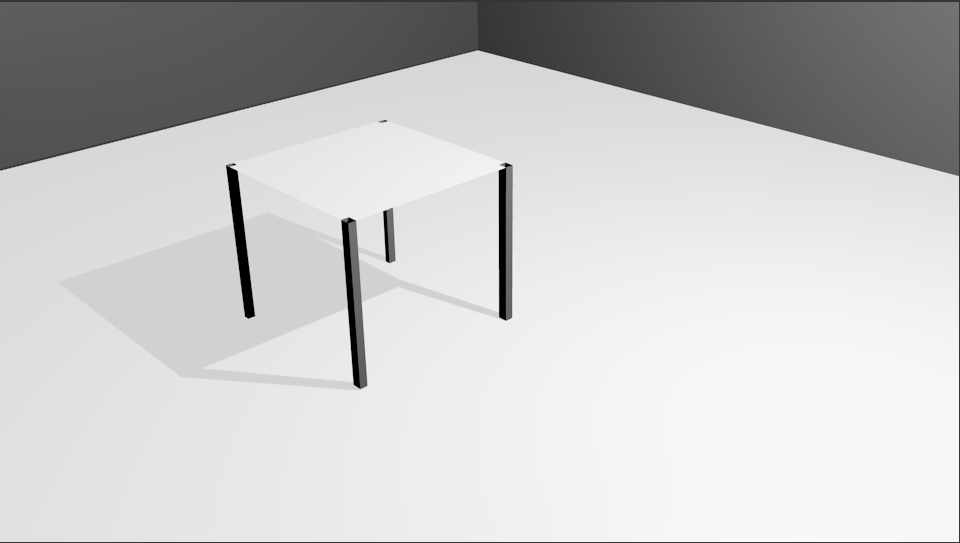
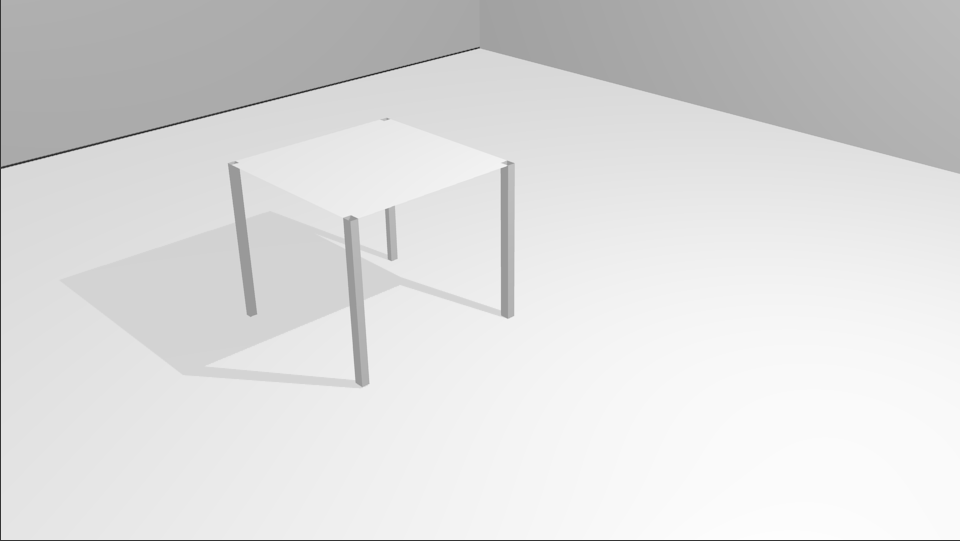
1. Same again, repeat the process and select hemi. This is a 180® directional light which emits light downwards

table with a hemi lamp
hemi lamp


Area light:

1. Same steps again just select area instead. This is an upward light that emits light from the plane.

table with an area lamp
area lamp

How to effectively light an object in blender

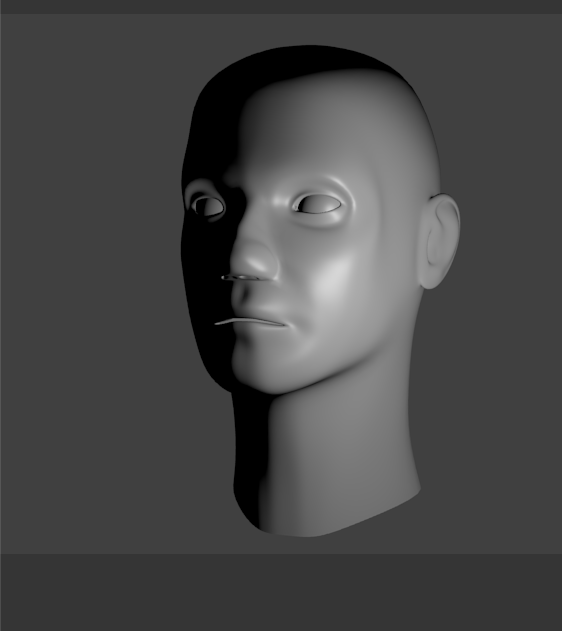
1. Press F12 for camera perspective


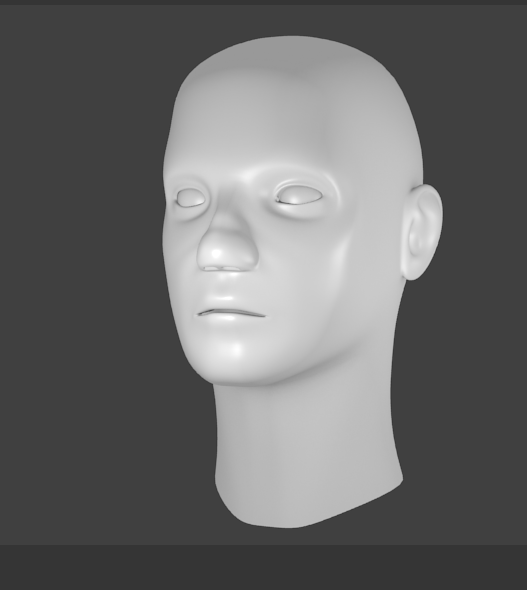
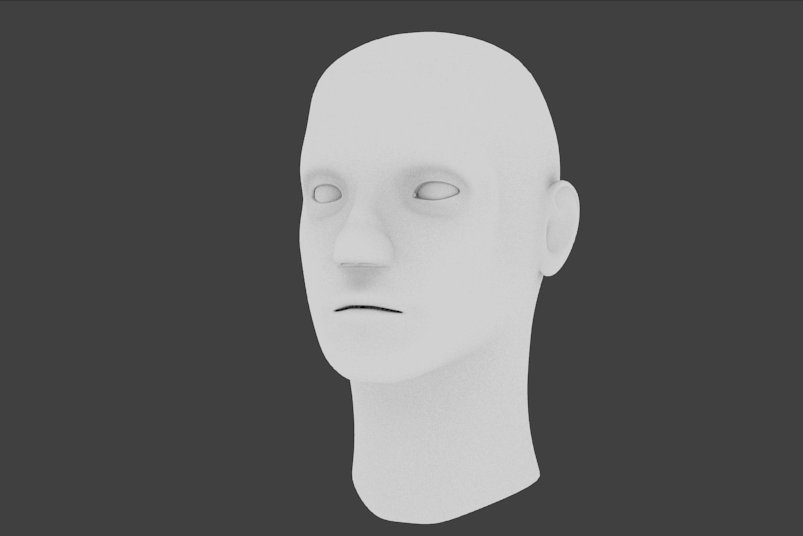
camera perspective of human head
camera perspective


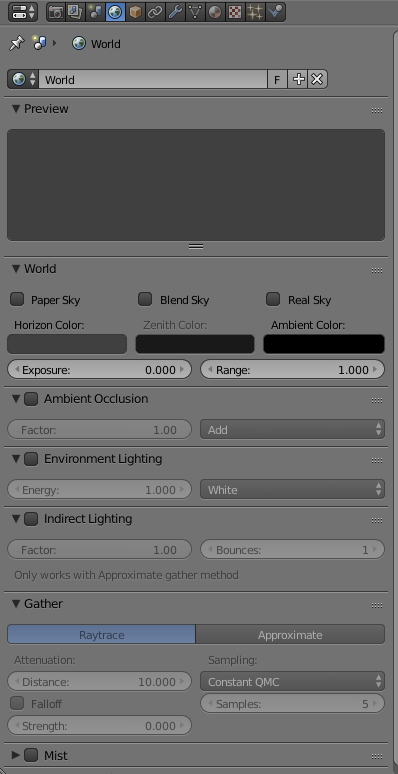
2. Then open up the world tab and tick ambient occlusion


world tab in blender
world tab

3. Turn ambient occlusion to full


full ambient occlusion


4. Reduce ambient occlusion to 0.5

ambient occlusion 0.5
half ambient occlusion


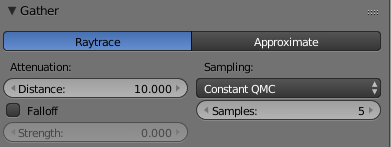
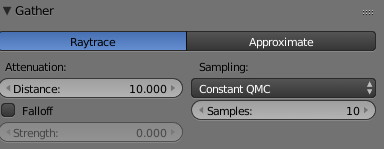
5. Go to the Gather column in World tab

gather in blender
gather column
6.  Adjust samples to preferred amount of samples. This makes the picture more realistic but my recommendation is not to go over 10 as it may crash your computer


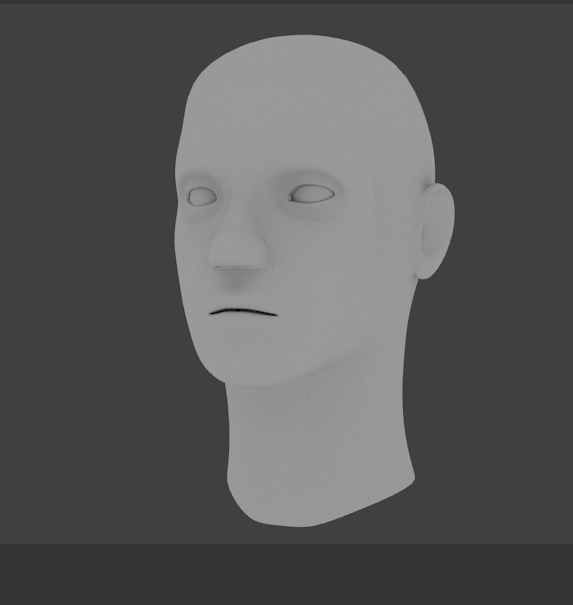
samples - human head
samples human head
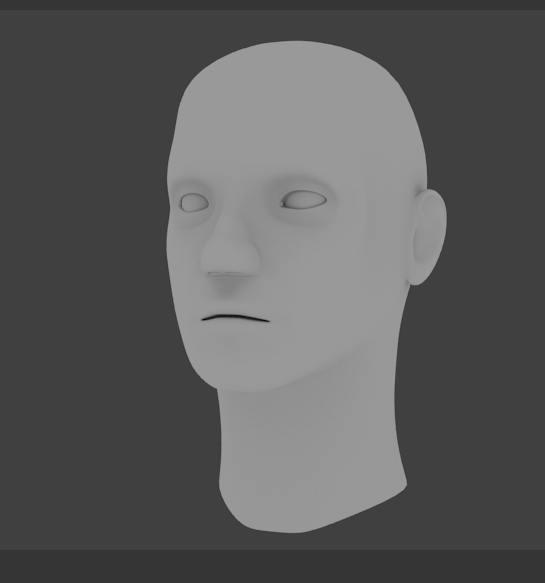
sample at 10
gather sample 10
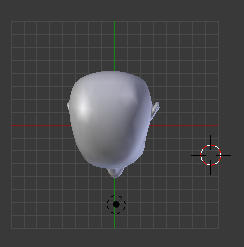
7. Press 7 for top view


top view of human head
top view


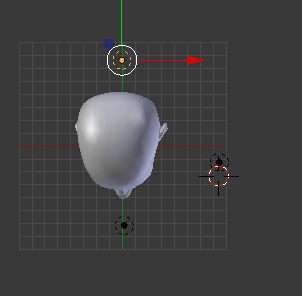
8. Then duplicate the lamp by pressing Shift + D and place lamps at the front, the back, and the side


3 point lamp of human head
3 point lamp


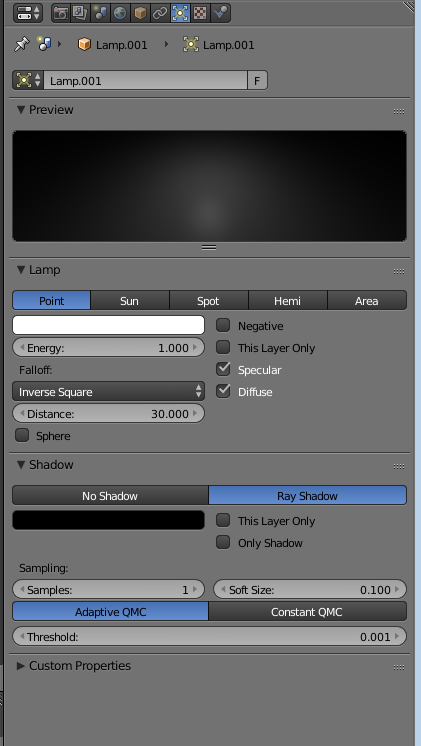
9.  Then adjust the energy on both duplicate lamps. To do this you have to go to the object data tab and adjust the energy settings

energy settings in blender
energy settings
10. Set the lamp behind the object to 0.8 and the one beside it to 0.5


closer view of energy settings
energy settings 2
11. Once this is done press F12 and that is the lighting of the object done.


finished image of lighting
finished lighting
close
Banner iklan disini