Showing posts with label basics of 3d modelling. Show all posts

Tuesday, April 24, 2018

Everything You Need To Know About 3D Modelling

These series of updated articles aim to provide you with everything you need to know about on 3D modelling and graphics. In 3D graphics, elements are visualized by creating three-dimensional models out of them. The final image is rendered from a virtual scene that utilizes several elements which are familiar from real life such as lights, materials and cameras. 3D graphics can be seen in multiple different forms such as an image, an animation or real time visualization inside of a computer game. If you are interested in a career in animation or gaming then this series is especially relevant for you!

We recommend reading this articles in the order presented if you are a beginner, however they are designed in such as way as that they are relatively independent of each other.

Select an area of 3D modelling to get started...


The creation of 3D graphics is a complicated process and therefore is, in my opinion, easier to understand when discussed in small pieces, hence this 8 article series. we hope that you find it useful and as always we welcome your feedback.


Thursday, October 6, 2016

Read How to add a texture in Blender Now

rendered result

In this tutorial you will learn how to add a texture in Blender using Cycles render.

Step 1

Using whatever you have made or imported change the default screen layout to compositing for a detailed result.

changing layout to compositing 

Step 2 

Change blender render to cycles render at the top of the screen.
Blender Render

Cycles Render

Step 3

Right click in the plane, click on the material button on the top right corner of the screen, click new.

adding a material

Step 4

If a material is already in place use the subtract button then press new.

subtracting the existing material 

Step 5

Click on the dot right of the white colour.


Step 6


Select image texture, press open and navigate to the image you want to use, once selected open the image/texture.
opening a image texture

Step 7

To map the image on the plane go to edit mode by pressing Tab or changing it from the bar menu.

changing to edit mode

Step 8

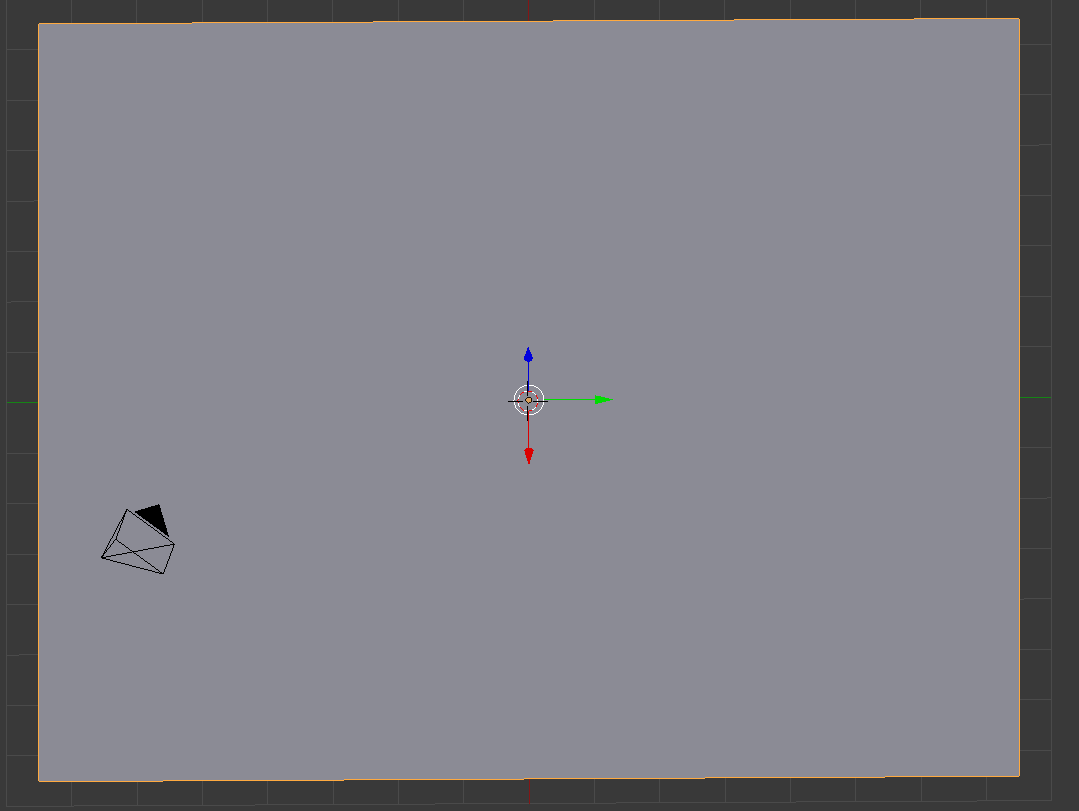
Press A to deselect then A again to select everything. go to mesh, UV unwrap, unwrap.

unwrapping the cube

Step 9

On the left side the plane will be unwrapped. Next load the image.

applying the image onto the cube

Step 10 

Switch back to object mode, switch back to the default layout, go to render to see the result.

changing to rendered view


Rendered result 


Read The Blender Interface for Beginners Now

There's no limit to the interface once you know what you're dealing with.


Introduction

If you've seen our tutorial "Blender Basics: The Beginners Guide to Using Blender" and feel less intimidated by this software, but are still wondering what everything outside the 3D View is, and exactly what each part is used for, then this is the next tutorial for you to read. This tutorial is going to name each of the different panels you're given when opening blender, what they're used for, and how you can change them or bring in completely new panels, not seen when you start Blender up, to show you just how much you can do with this programme when you know what you're doing.


The Default Screen

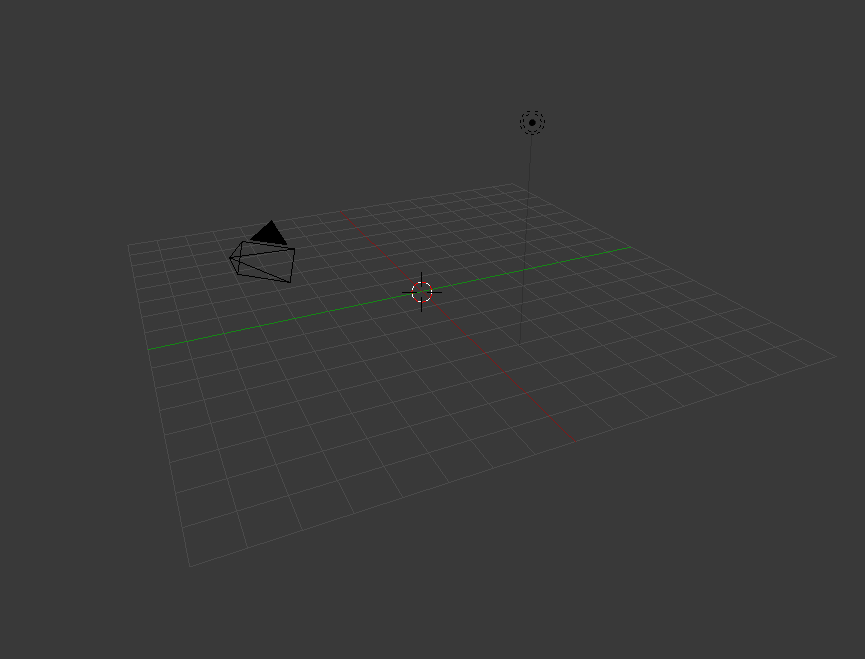
First of all, lets talk about the user interface you're given when you first start up Blender. By default, the interface you are given to work with looks like this: 

default view

Lets break down this default view into sections and talk about each one separately. The image below is each section broken down and colour coded.

colour coded default view

Red - This is the 3D Viewport. Also called the stage. This is the main screen used in Blender to create, edit or remove stuff from your stage. the toolbar on the left is called the tool shelf and has lots of different options to add new stuff in or edit the stuff in your viewport such as smooth the mesh. You can toggle this on or off by pressing the T key. The difference between the 3D view and the stage is that you can view the stage in different types of viewports, and the 3D view is just one viewport.

Green - This is a timeline which is used when animating in Blender. If you don't want to get into animating then you can ignore and even close this tab. If you do see our tutorial on animating.

Blue - This panel is known`as the properties panel. It is used to change the properties of anything on stage. The little tabs at the top are collectively known as the header which is where you choose what type of properties you wish to change. This panel is not to be confused with the Properties Shelf which is hidden but displayed by pressing the N key. 

Orange - This panel is known as an Outliner Window and is used to show the different items that you have on your stage. 

Yellow - This is known as the info window. This window shows some useful information such as the version e.g. 2.72, which type of render you're in and which set of viewports you're using. These things can be changed using the info window. 

Opening New Panels

To open up a new panel look for a little triangle like this:

triangle

normally in the top right of an existing panel. click it, hold and drag. Don't do this more times than you need to as you can create an overwhelming amount of screens without knowing how to get rid of them.

Closing Unwanted Panels

To close an unneeded panel just click the triangle, hold and drag back on the previous panel.

Changing a Panel 

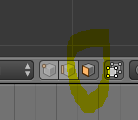
To change a panel to what you need it to be, rather than just the 3D View, click this box:

viewport editor

 in the bottom left hand corner of the viewport you want to change and select the new panel you want it to be. try them all out to see how they look. I hope this tutorial has helped you.


Read How to model and texture a chair in Blender Now

Chair with texture

In this tutorial you will learn how to create a basic chair and add a texture onto the chair.


Step 1

Delete the default cube by pressing X and delete.

with no cube 

Step 2

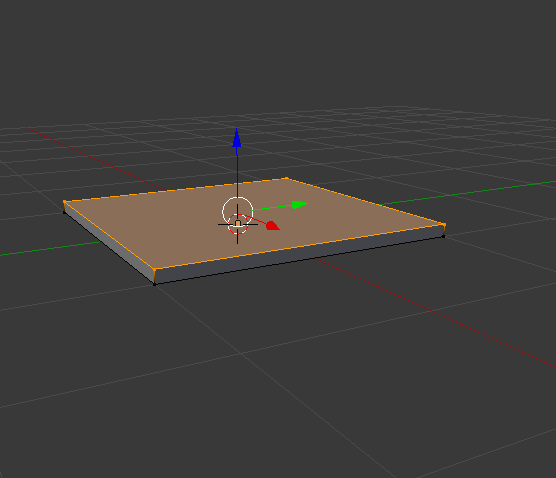
Add mesh plane or shift A mesh and plane.Zoom in with the middle mouse button, or press 1 for a side view, press Tab to go into edit mode it should turn orange. E to extrude.

plane that's extruded


Step 3 

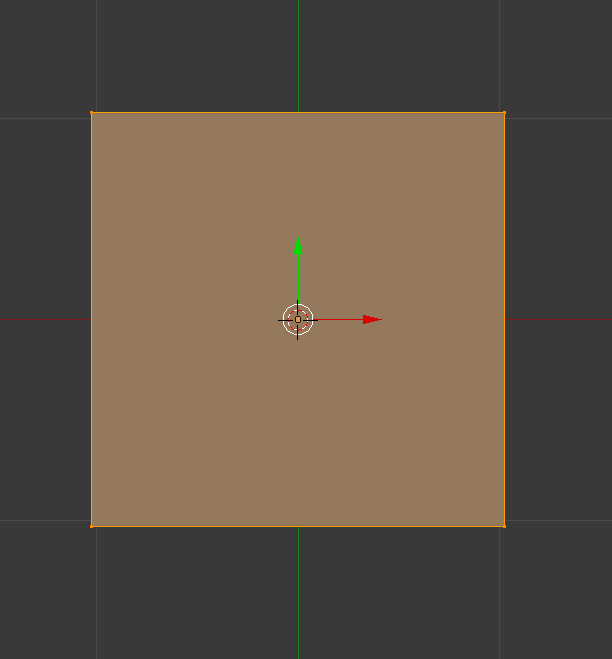
Press 7 on the number pad to get a better view. Use the middle mouse button to zoom in or out.

top down view of the plane in edit mode

Step 4

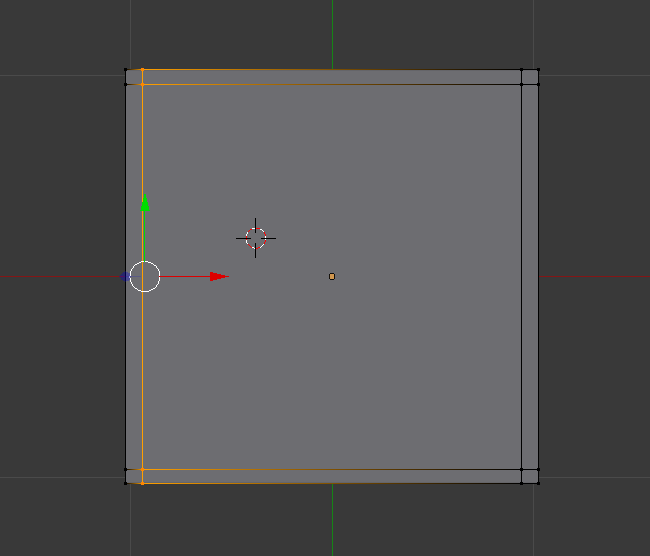
Press ctrl R to create a loop and place a loop at each side. Total of 4 loops.

plane with four loops

Step 5

Select face select. 

face select

Step 6 

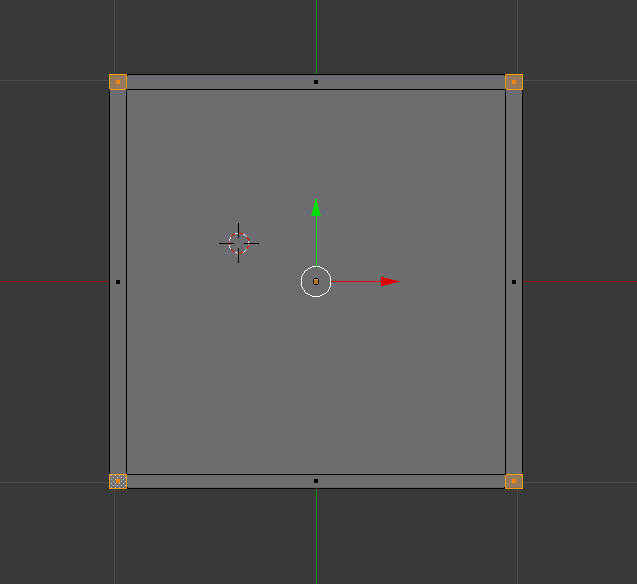
Press the number 8 to flip to the opposite side(underneath the plane),Select one box then press Shift and right click on each of the boxes.

plane with all four corners selected

Step 7 

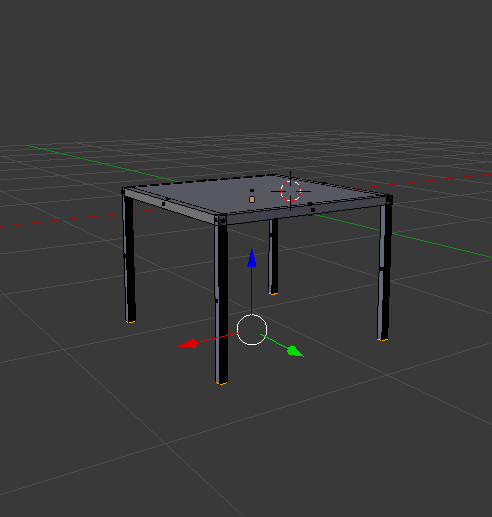
Press number 1, press E to extrude to your desired length. Use the middle mouse button to move around to get different angles.

plane with all legs

Step 8 

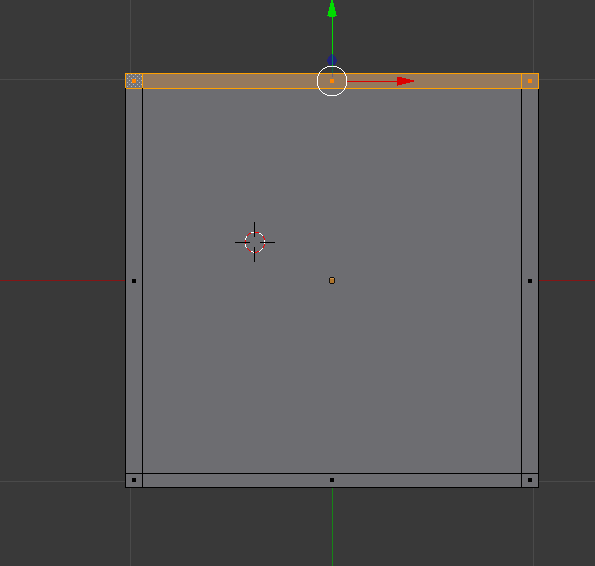
Press A to deselect, select one side and E to extrude. 

top down view with one side selected

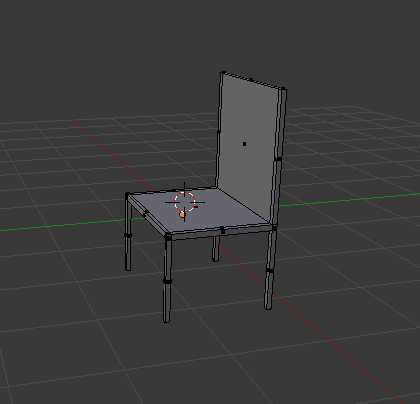
basic model of a chair

Step 9 

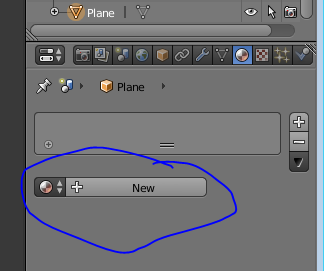
To add a texture onto the chair go to materials bar on the top right corner of the screen, click on new.

adding a new material

Step 10

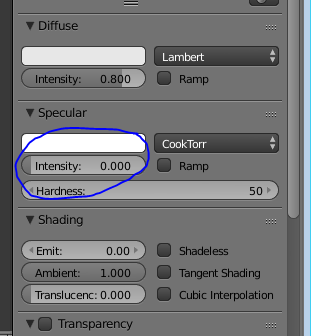
Change the specular to zero so a glossy effect wont appear onto the chair.

lowering the specular

Step 11 

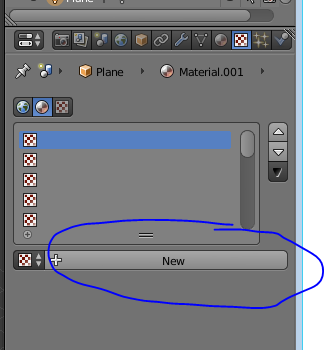
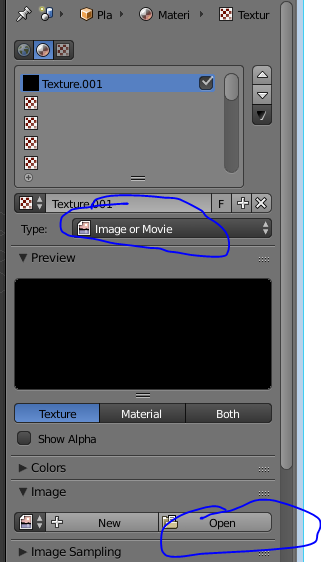
Go to the texture section beside the material on the top right corner, click on new, change the type image to image and movie, click on open and navigate to your texture that you have downloaded.

adding a new texture

importing a texture

Step 12 

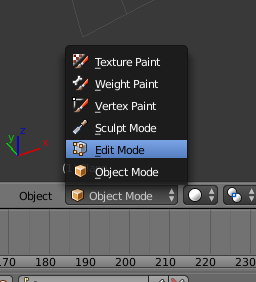
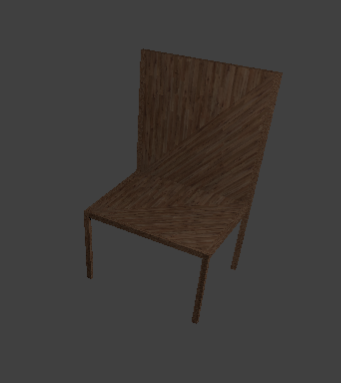
The texture will look like this on the chair, to fix this the texture needs to be unwrapped. Change object mode to edit mode.
changing to edit mode
chair with texture

Step 13 

Go to mesh, uv unwrap, unwrap. this will fix the texture on the chair.

unwrapping 


rendered result 

finished chair with a texture

Read Rendering in Blender Now

Sample blender render

What is Rendering ?

Rendering is the final process of CG (short of post processing) and is the phase in which a 2D image corresponding to your 3D scene is finally created. Rendering is a CPU-intensive process. You can render an image on your computer, or use a render farm which is a network of PCs that each work on a different section of the image or on different frames.

Why use it ?

We use rendering in blender in order to make our object more lifelike and realistic. We use it to turn an object into 3D or make a scene more realistic.

How to use Rendering

1. In order to create a finished rendered image you must first create a scene. To do this you press shift + A and then select mesh then plane. Once you have this done press "S" to scale your object to desired width of a standard floor. Do the same procedure for the walls

adding a plane
adding a plane 
scaling a plane
scaling a plane
adding a wall to your scene
adding a second wall to your scene
making a table
making a table
table made

2. Next add in some more standard objects in a room such as a table, chairs. You can model these or download them from www.blendswap.com

adding a chair
adding a chair
a room in blender
scene with table and chairs

3. Once you have this completed add in some materials and textures to make your scene more realistic. Be sure to check our tutorial on how to add materials and textures in blender. Once completed press F11 and your image will render.


adding a material
adding a material
adding a material to your table and chair
With added objects and lighting you can achieve renders such as the sample below.

Sample blender render


close
Banner iklan disini