

 |
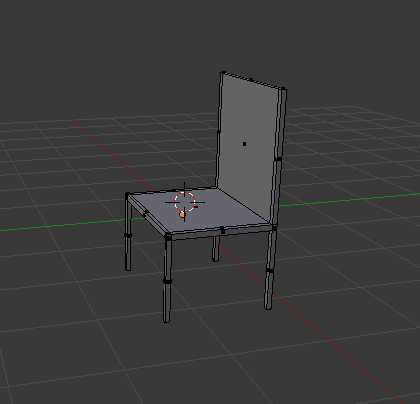
| Chair with texture |
Step 1
Delete the default cube by pressing X and delete.
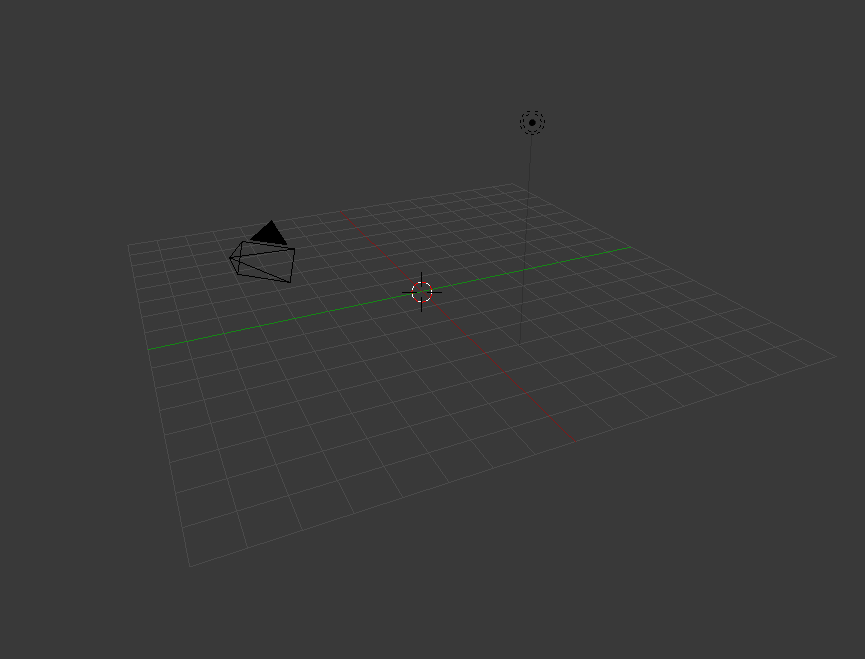 |
| with no cube |
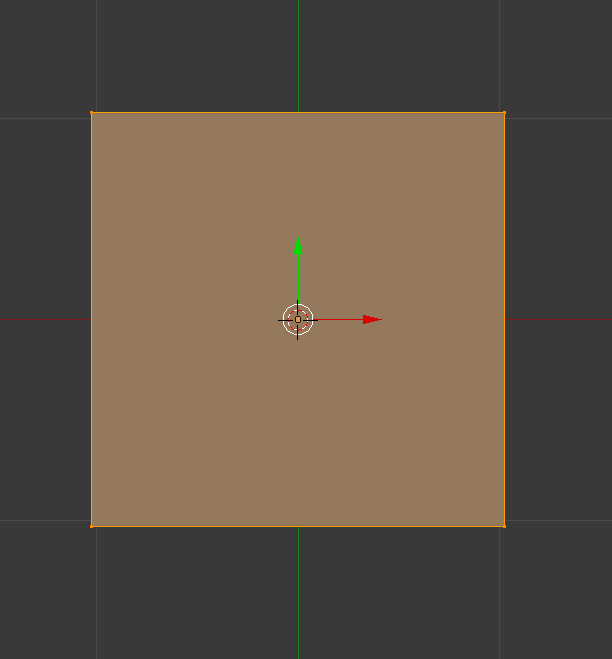
Step 2
Add mesh plane or shift A mesh and plane.Zoom in with the middle mouse button, or press 1 for a side view, press Tab to go into edit mode it should turn orange. E to extrude.
 |
| plane that's extruded |
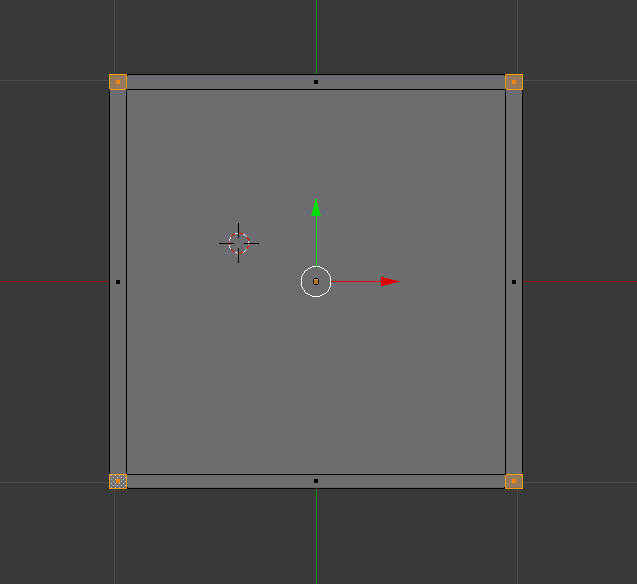
Step 3
Press 7 on the number pad to get a better view. Use the middle mouse button to zoom in or out.
 |
| top down view of the plane in edit mode |
Step 4
Press ctrl R to create a loop and place a loop at each side. Total of 4 loops.
 |
| plane with four loops |
Step 5
Select face select.
 |
| face select |
Step 6
Press the number 8 to flip to the opposite side(underneath the plane),Select one box then press Shift and right click on each of the boxes.
 |
| plane with all four corners selected |
Step 7
Press number 1, press E to extrude to your desired length. Use the middle mouse button to move around to get different angles.
 |
| plane with all legs |
Step 8
Press A to deselect, select one side and E to extrude.
 |
| top down view with one side selected |
 |
| basic model of a chair |
Step 9
To add a texture onto the chair go to materials bar on the top right corner of the screen, click on new.
 |
| adding a new material |
Step 10
Change the specular to zero so a glossy effect wont appear onto the chair.
 |
| lowering the specular |
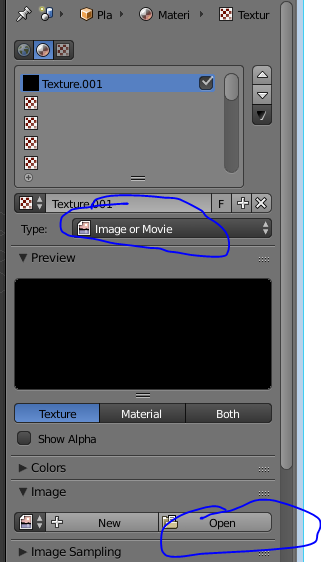
Step 11
Go to the texture section beside the material on the top right corner, click on new, change the type image to image and movie, click on open and navigate to your texture that you have downloaded.
 |
| adding a new texture |
 |
| importing a texture |
Step 12
The texture will look like this on the chair, to fix this the texture needs to be unwrapped. Change object mode to edit mode.
 |
| changing to edit mode |
 |
| chair with texture |
Step 13
Go to mesh, uv unwrap, unwrap. this will fix the texture on the chair.
 |
| unwrapping |
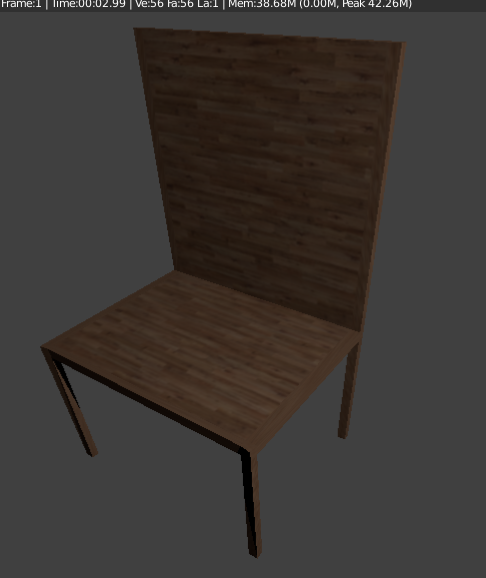
rendered result
 |
| finished chair with a texture |


