|
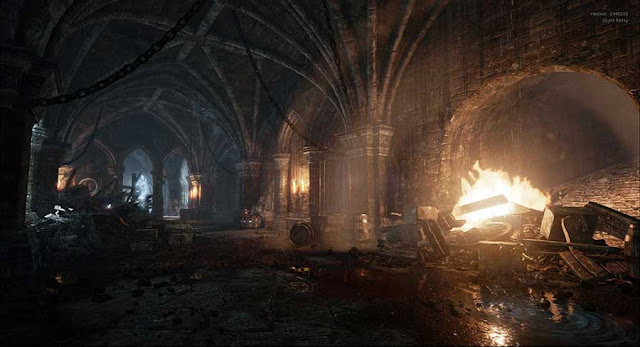
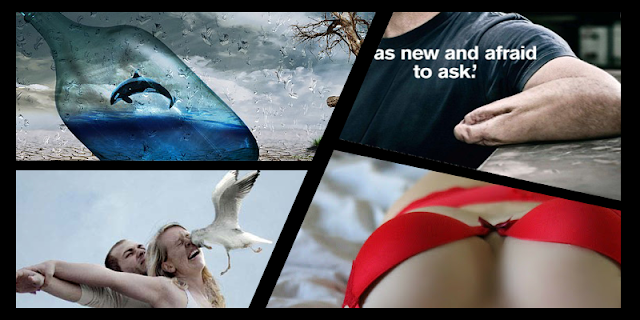
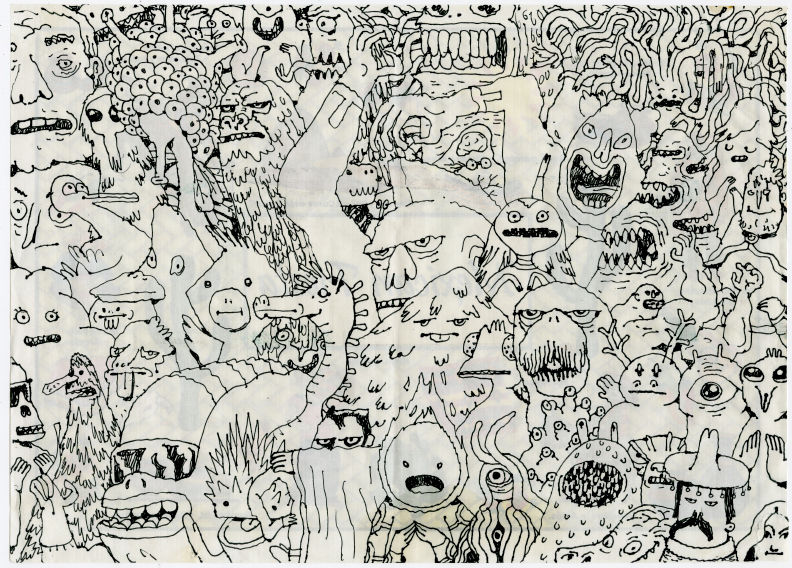
| This image shows a finished decal texture. |
Steps for Decal
1. You can look for an image that you want to be your decal or you can create decal by yourself by open new Photoshop file in power of 2 for example 512x512 with transparent background and you can unlock the layer. |
| This image shows the Photoshop settings for the canvas. |
|
| This image shows a finished decal texture. |
2. You can download a suitable brush in ABR file format if you want to create your own decal from scratch. If you have downloaded an image you can remove parts from the image that you want use for your texture and place them into your canvas prepared in step one.
3. Press Ctrl and hover over your layer until you see the symbol (Thumbnail) hand with square and just press once on the layer.
4. Then press X and D to change front colour to white and background to black
5. Go to channel section.
3. Press Ctrl and hover over your layer until you see the symbol (Thumbnail) hand with square and just press once on the layer.
4. Then press X and D to change front colour to white and background to black
5. Go to channel section.
 |
| This image shows Channel panel in Photoshop. |
 |
| This image shows Where you can create new channel. |
6. Add another channel which is an alpha channel.
 |
| This image shows Alpha channel added. |
7. Select the area of your image than you want to be visible and with the alpha channel still selected use the paint bucket tool to fill that area white. Don't worry it won't damage your image, just set that area as solid and visible in your alpha while at the same time, masking the rest of the image.
https://youtu.be/2pEpg5Mg9t4
This links to a video tutorial about creating a decal texture.
https://youtu.be/2pEpg5Mg9t4
This links to a video tutorial about creating a decal texture.