Showing posts with label how to. Show all posts

Thursday, October 6, 2016

Read How to model and texture a chair in Blender Now

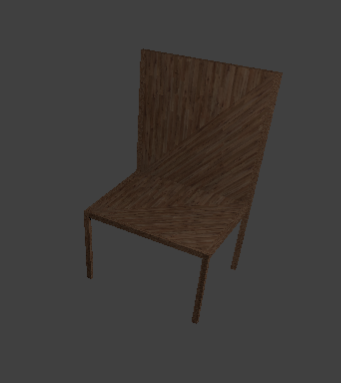
Chair with texture

In this tutorial you will learn how to create a basic chair and add a texture onto the chair.


Step 1

Delete the default cube by pressing X and delete.
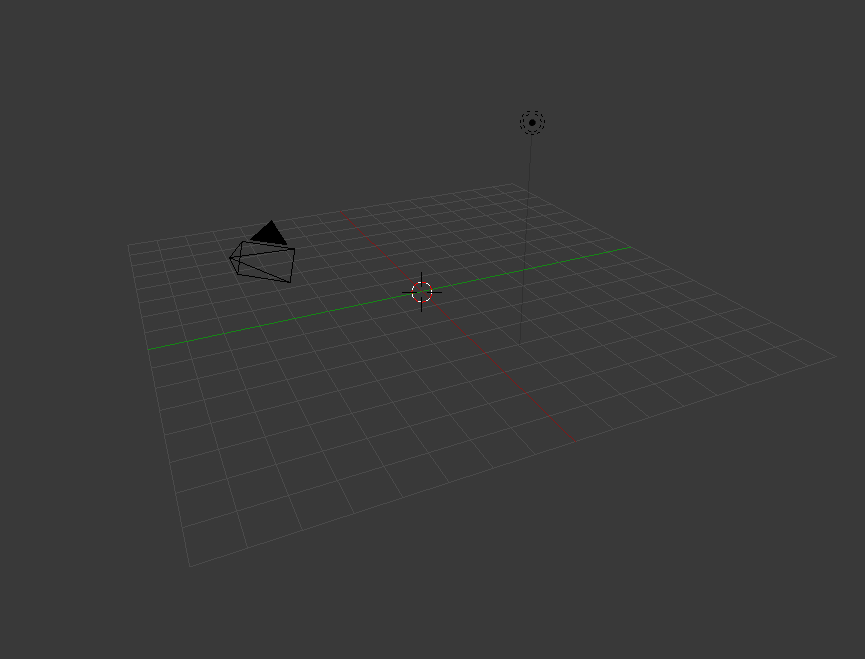
with no cube 

Step 2

Add mesh plane or shift A mesh and plane.Zoom in with the middle mouse button, or press 1 for a side view, press Tab to go into edit mode it should turn orange. E to extrude.
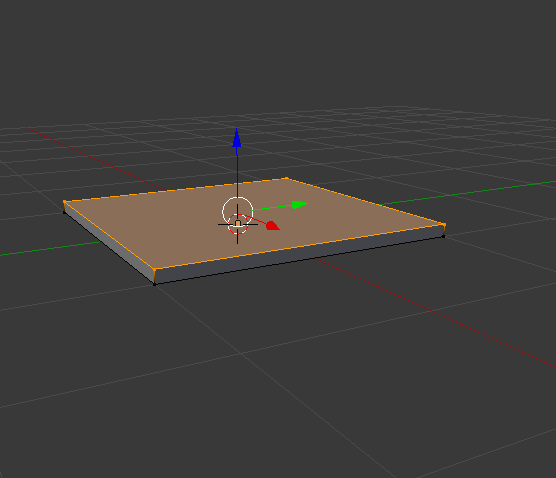
plane that's extruded


Step 3 

Press 7 on the number pad to get a better view. Use the middle mouse button to zoom in or out.
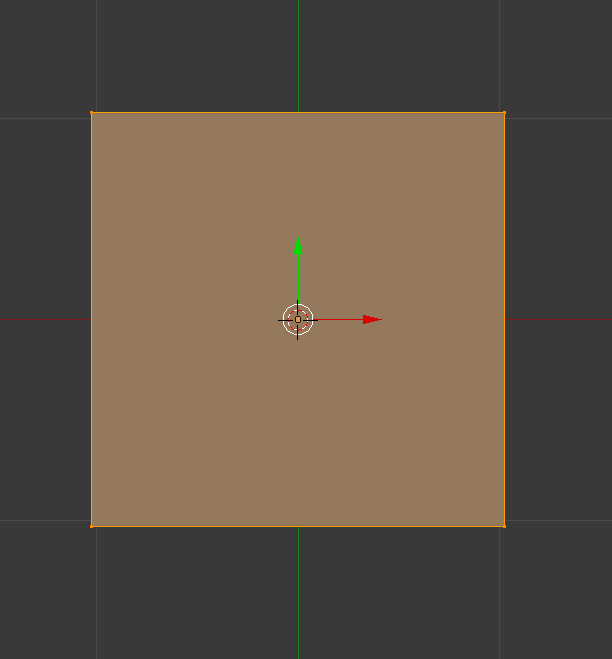
top down view of the plane in edit mode

Step 4

Press ctrl R to create a loop and place a loop at each side. Total of 4 loops.
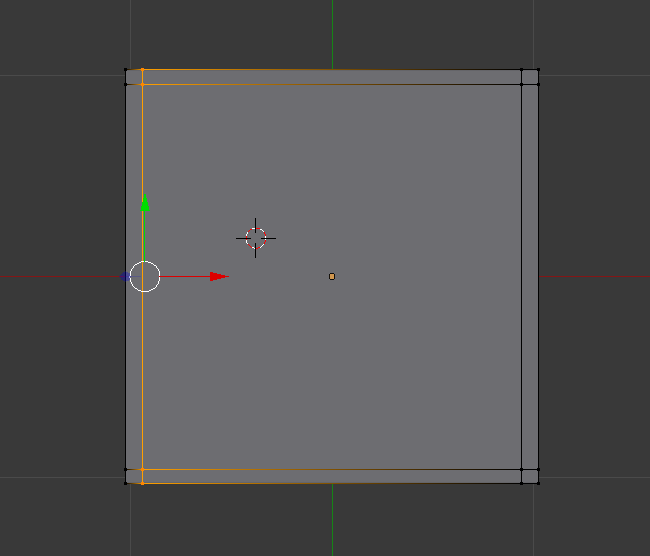
plane with four loops

Step 5

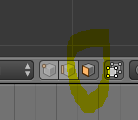
Select face select. 

face select

Step 6 

Press the number 8 to flip to the opposite side(underneath the plane),Select one box then press Shift and right click on each of the boxes.
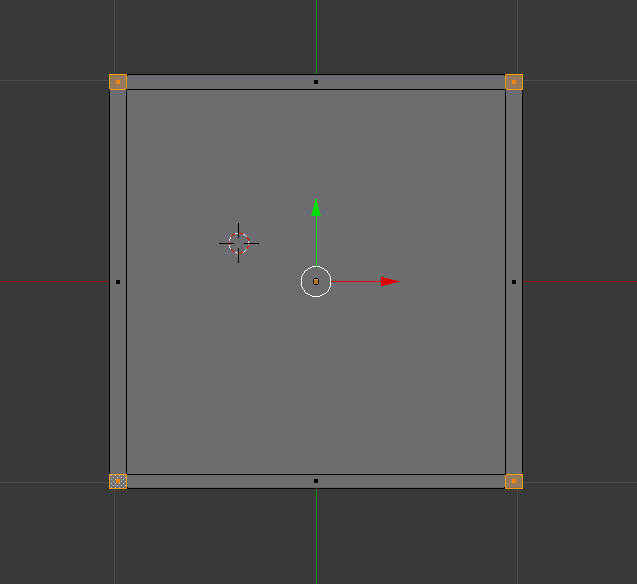
plane with all four corners selected

Step 7 

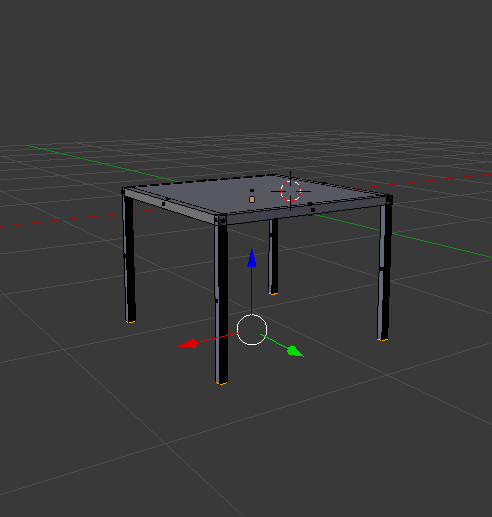
Press number 1, press E to extrude to your desired length. Use the middle mouse button to move around to get different angles.

plane with all legs

Step 8 

Press A to deselect, select one side and E to extrude. 
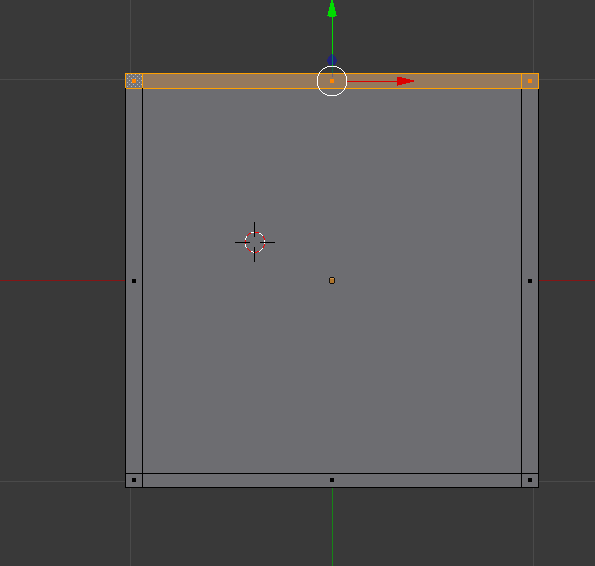
top down view with one side selected

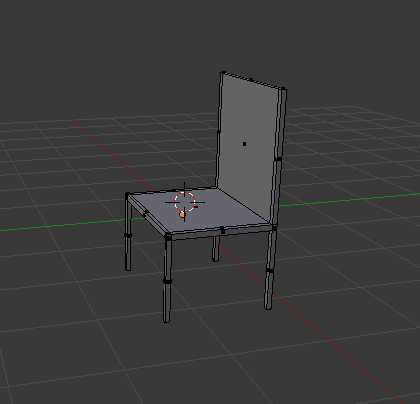
basic model of a chair

Step 9 

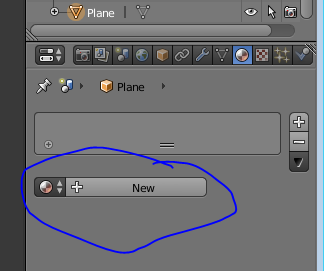
To add a texture onto the chair go to materials bar on the top right corner of the screen, click on new.

adding a new material

Step 10

Change the specular to zero so a glossy effect wont appear onto the chair.
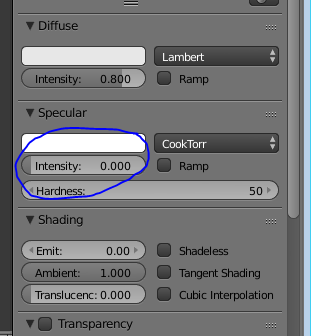
lowering the specular

Step 11 

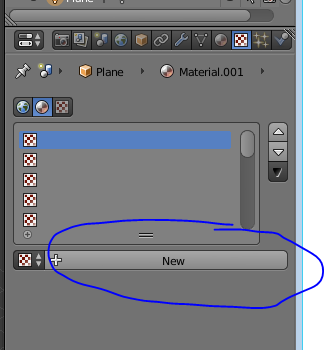
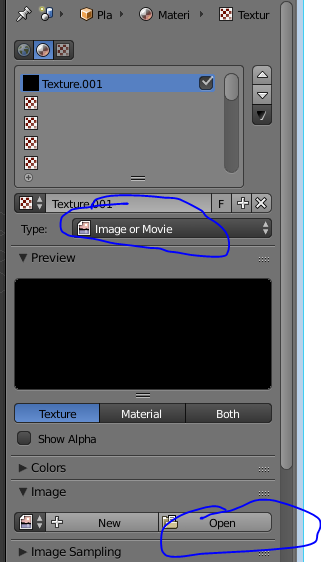
Go to the texture section beside the material on the top right corner, click on new, change the type image to image and movie, click on open and navigate to your texture that you have downloaded.

adding a new texture

importing a texture

Step 12 

The texture will look like this on the chair, to fix this the texture needs to be unwrapped. Change object mode to edit mode.
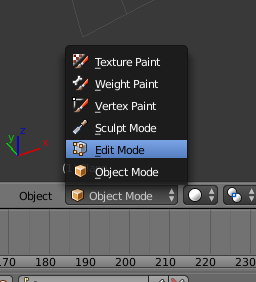
changing to edit mode
chair with texture

Step 13 

Go to mesh, uv unwrap, unwrap. this will fix the texture on the chair.

unwrapping 


rendered result 

finished chair with a texture

Read How to use Bezier Curves in Blender Now


An edited curve

What are curves within Blender?

Curves within blender are normally used to create the outline of an object or trace over something e.g. a picture. It is similar to the pen tool in Photoshop as to how it works and what it’s used for. There are two types of Curves, Bezier and Circle.
How to use the Curve tool

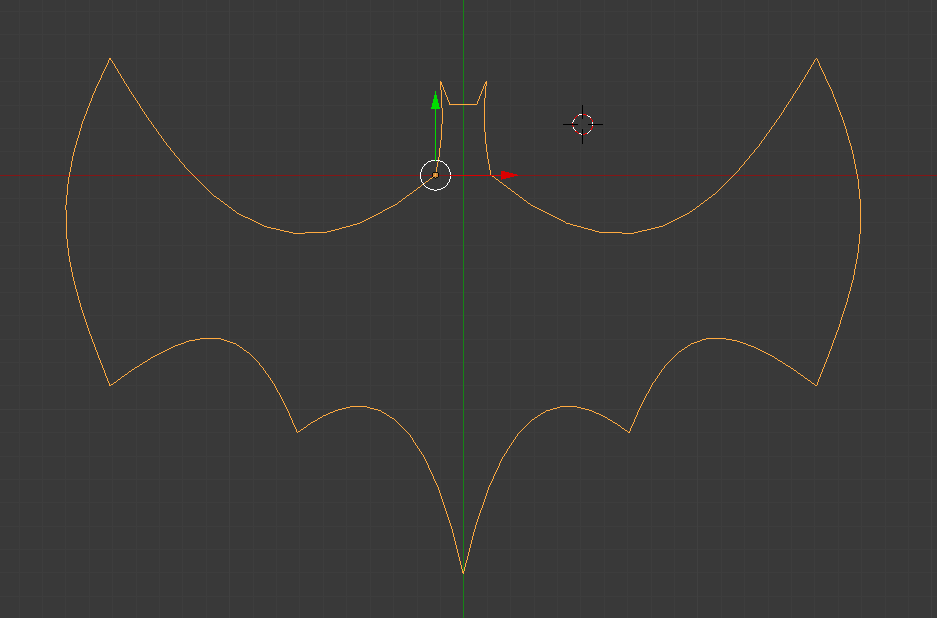
In this tutorial I will be drawing a Batman logo to show you how to use the Bezier Curve.

Step One:When you are ready to add your curve in to the stage, go into Orthographic view (numpad 5) and top down view (numpad 7) and delete the default box by right clicking it and pressing x then clicking delete. Then press shift+A> Curves>Bezier Curve and you will see the following:


newly added curve

This is your curve. It cannot be edited or re-shaped until you go into edit mode by pressing TAB. Once there you should see this:

handles on curve

The layout the curve is in can look quite complicated and the arrows tend to throw people off. If you’d prefer to turn them off press N then in the new menu that appears, under “Curve display” un-tick normal as shown below and the arrows will disappear.

getting rid of normal

Step Two: To change the shape of the curves you use the handles which are the red straight lines coming from the points. The points between the two red handles, on the curved line are where the curve's control points are. These points can be moved to change where the curve actually is. The red lines can be adjusted in length and position. The length changes how big the curve is and the position changes the direction. Play around with the handles a bit to get used to them.

adjusting the handles

Step Three:If you practised step two you will notice that when you change the position of one handle, the other handle stays in line with the one you changed. This is because of the handle type. To change this press V and click on vector and you will notice the handles go green and can be adjusted freely.

vector handles

The vector handles are necessary to create shapes where the curves on either side of a point go in different directions e.g. the Batman logo wings as seen below. To add a new point, right click the point you want it added on to, and press E (for extrude). You will then notice you are dragging a new point. Place it in a suitable location and adjust it how you want.

adding a new point

Continue this process until you have the shape you want. If the shape you want to make is symmetrical, you only need to draw up half of the shape. To see the shape without handles, go back into object mode using TAB. To continue editing, press TAB again.

how to see your shape

Step Four:If the shape your drawing with your curves is symmetrical then you will need to duplicate it, then mirror it. To do this get out of edit mode into object mode, press Shift+D then enter and then press CTRL+M+X then enter. Reposition it if it is off.

mirroring your shape

This has given us two different Bezier curves which can’t be edited at the same time. To change this go into object mode, right click one so it is highlighted as above, then Shift right click the other and press Shift+J to join them. You can then TAB back into edit mode. Here you can right click one point, then shift right click the corresponding one on the mirror side, and press F to connect them (stands for fill).This is how I connected the head above and the tail below.

finished shape

When you connect the two points at the bottom for the tail, you need to add a new point in the middle to drag down. To do this click subdivide in the left toolbar after you connect them by pressing F, as shown below:

subdividing your curve line

Step Five:We now have the outline of our shape finished but now we can make it more detailed, or turn it into a rendered image. This last step is not necessary, but it is good practice and turns the curve into a nice image.To begin this process we have to click the curves tab in the right toolbar and change it to 2D to fill the shape in. make sure you have the curve selected to get the curve tab to show. you can also change the resolution to 24 to give it more definition.

making your curve solid

You can then go to the top of the stage to where it says blender render and change it to cycles render. After that, click the world tab (you must have nothing selected. Press A while over the stage to deselect if you have anything selected) in the right toolbar to get the menu below displayed.

making your curve an image

changing colour of background

In this menu go to surface and change the colour to what you want the background of the image to look like. I chose black.

You can then right click the curve and click the material tab in the same area where the world tab was. Add a material by clicking the add material button then go down to surface. change the surface to emission, then pick the colour you want to use.


changing colour of curve

Finally, position your view of the image to wherever you want the camera to be. I recommend using a top down view (numpad 7). You then press CTRL+ALT+Numpad 0 to set the cameras location. You can press numpad 0 again to exit out of the camera view. Right click the camera then click the camcorder tab in the same place where the world and material tabs were. Change to Orthographic and use the Focal Length and the Shift options shown below to reposition the camera. To view these changes press numpad 0 over the stage again to show the view. It will update to the changes you make in real time.

taking a picture

Once you’re happy with the position of the camera and the other settings you have made, click the camera tab and then click render, or just hover over the stage and press F12 to take a rendered image of your curve. As you can see below, I have a fully finished rendered image of my custom made batman logo.

Bezier Curve Batman Logo in Blender
final image

Read How To Remove Green Eye In An Image Now

dog with green eye
Green Eye In A Photo

This tutorial will teach you how to remove green eye in pictures. Green eye commonly occurs in dogs and cats. This picture of a dog needs to be edited because the dog’s eyes appear green due to an effect the camera flash has on animals’ eyes. I will use the polygonal lasso tool, the sponge tool, the burn tool and the blur tool.


Step 1: Open Adobe Photoshop and import the image you wish to edit.

Step 2: Use the zoom tool to zoom in closer on the dogs’ eyes.

zoom on dogs face
Zoomed In On The Dogs Face

Step 3: Select the polygonal lasso tool and trace around the green part of the dogs eyes.

tracing the eyes using polygonal lasso tool
The Trace Around The Dogs Eyes Using The Polygonal Lasso Tool

Step 4: Select the sponge tool and set the size to approximately 15 pixels. Make sure the mode is set to desaturate and click over the dogs eyes so the green colour will desaturate.

using the sponge tool to desaturate colour in the eyes
Using The Sponge Tool To Desaturate The Colour In The Eyes


Step 5: Select the burn tool and set the range to shadows and the exposure to 17% and click on the eyes to make them darker.

using the burn tool
Using The Burn Tool To Darken The Dogs Eyes

Step 6: Select the blur tool and set the size to approximately 10 pixels and the strength to 15%. Click and go around the pupils so it will appear smoother and less sharp and jagged.

using the blur tool to smooth out the eyes
Using The Blur Tool To Make The Eyes Appear Smoother

Click here to see our How To Remove Red Eye Tutorial.

Read Downloading, Installing and Editing fonts in Photoshop Now

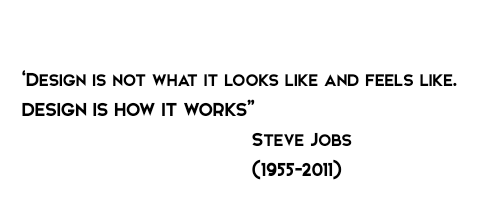
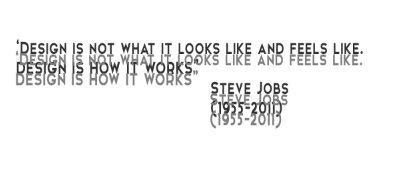
Design Quote from Steve Jobs
In this tutorial you will learn how to download a font from the website "dafonts", install onto your computer, and how to change and style the font using the properties of the Text Tool in Photoshop.


Step one:

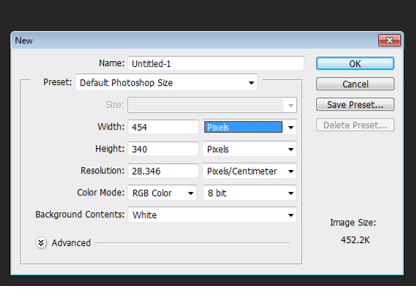
Create new file

Creating a new file 

Step Two:

Go to the website “dafont”. And select desired font to download. I have chosen the font called “Elkwood” for this demo.

"dafont.com" Logo


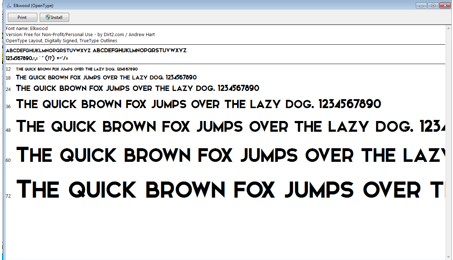
The file will download as a zip file in the download area. Double click to unzip the folder and install the font file. This will then appear in the text section in Photoshop.

Installing of the font 

Step Three:

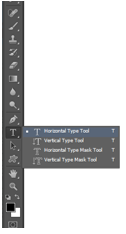
In Photoshop select the Text tool to create new text.

Text Tool option on Photoshop

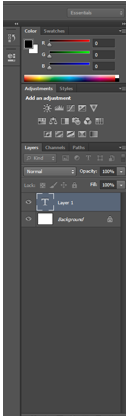
Selected the font “Elkwood”. And click on the canvas. This will create a new layer.

Creating a new "Layer" in Photoshop

Step Four:

Enter your desired text. For the demo I am using a quote from Steve Jobs creator of Apple “Design is not what it looks like and feels like. Design is how it works”.

Example of the text used


I am now going to add different character setting using the character and paragraph panels.


Selecting the Character and Paragraph panels to change the text 

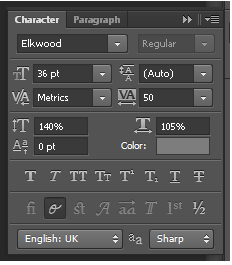
By changing the settings in the character and paragraph panels, it allows you to selected different sizes for the font, different colours. It also gives you the option to space out the letter both horizontal (across) and vertical (up and down). I have changed the font size, the colour and both the horizontal and vertical of the text. As shown in the image below.

Different options used in the Character and Paragraph for the text

Step Five:

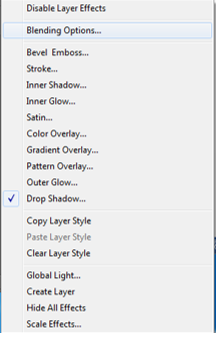
Effects after changing the settings in the character and paragraph panels.. For this demo I have added a drop shadow to the text. To do this you need to right click on the text layer and a drop bar will appear, here you can select the blending mode to create different effects to the text. The Blending options show in the below image.


Blending Options on the drop down menu


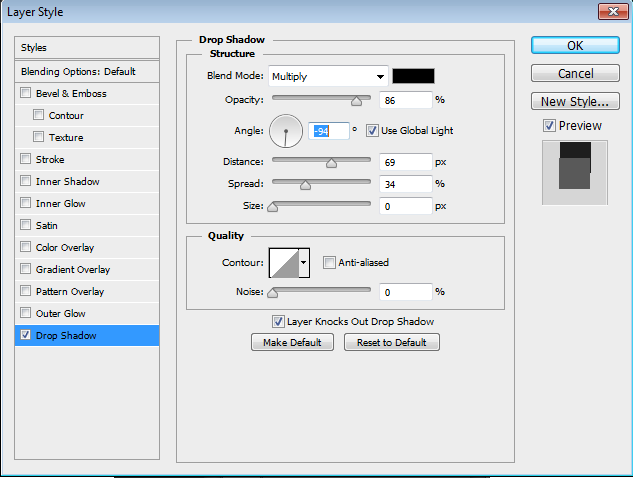
Then I selected to add a drop shadow to the text. I added in different settings as show in the image below. This gives a shadow effect to the text. The sample is not intended to be inspiring! But rather a simple example showing that the text can be edited. Explore the various layers styles to create a text effect that suits your design project.

Setting for adding a Drop Shadow to the text layer in Photoshop

Before:


Original text with no effects in Photoshop


After adding the different effects on the text:


Drop Shadow effect and Character effects done to the text in Photoshop


close
Banner iklan disini