Showing posts with label how. Show all posts

Thursday, October 6, 2016

Read How To Remove Green Eye In An Image Now

dog with green eye
Green Eye In A Photo

This tutorial will teach you how to remove green eye in pictures. Green eye commonly occurs in dogs and cats. This picture of a dog needs to be edited because the dog’s eyes appear green due to an effect the camera flash has on animals’ eyes. I will use the polygonal lasso tool, the sponge tool, the burn tool and the blur tool.


Step 1: Open Adobe Photoshop and import the image you wish to edit.

Step 2: Use the zoom tool to zoom in closer on the dogs’ eyes.

zoom on dogs face
Zoomed In On The Dogs Face

Step 3: Select the polygonal lasso tool and trace around the green part of the dogs eyes.

tracing the eyes using polygonal lasso tool
The Trace Around The Dogs Eyes Using The Polygonal Lasso Tool

Step 4: Select the sponge tool and set the size to approximately 15 pixels. Make sure the mode is set to desaturate and click over the dogs eyes so the green colour will desaturate.

using the sponge tool to desaturate colour in the eyes
Using The Sponge Tool To Desaturate The Colour In The Eyes


Step 5: Select the burn tool and set the range to shadows and the exposure to 17% and click on the eyes to make them darker.

using the burn tool
Using The Burn Tool To Darken The Dogs Eyes

Step 6: Select the blur tool and set the size to approximately 10 pixels and the strength to 15%. Click and go around the pupils so it will appear smoother and less sharp and jagged.

using the blur tool to smooth out the eyes
Using The Blur Tool To Make The Eyes Appear Smoother

Click here to see our How To Remove Red Eye Tutorial.

Read Airbrushing Skin In Adobe Photoshop Now

using the blur tool to airbrush


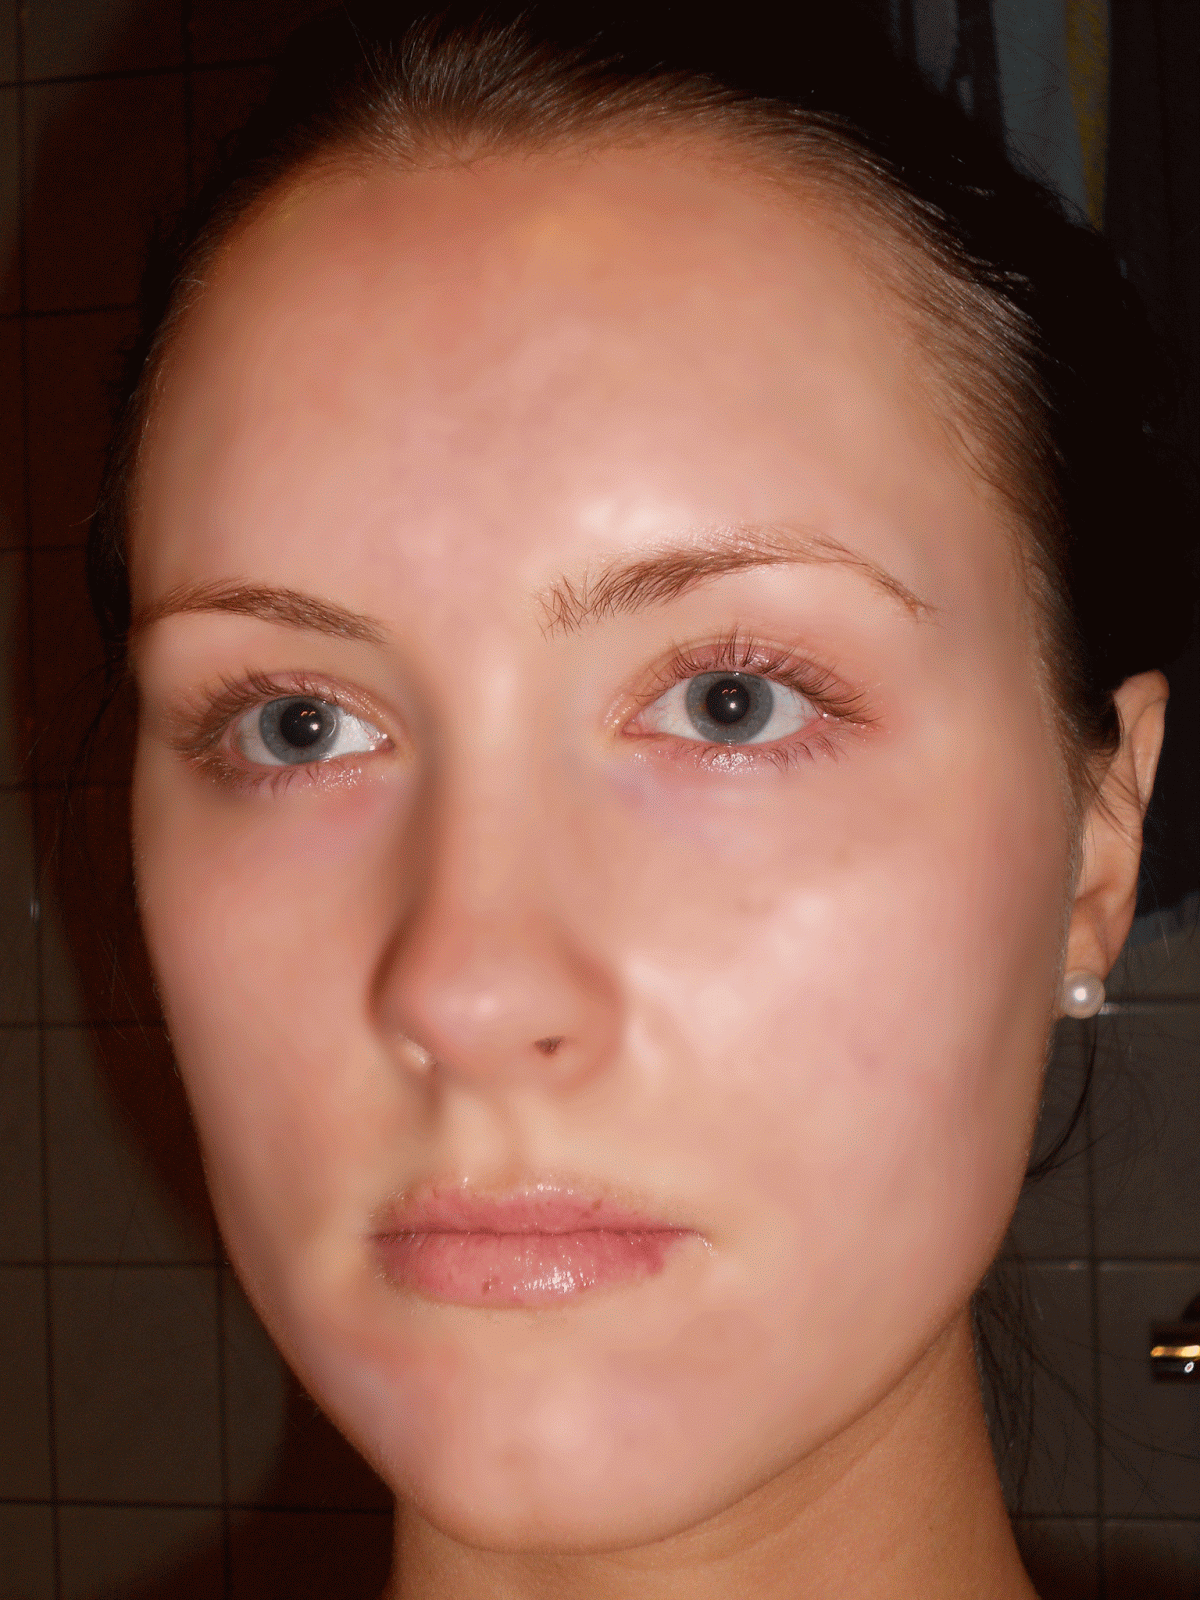
Airbrushing models skin is very common in many the photo editing industry today and has been for some time. This short tutorial will teach you how to airbrush skin in a few easy steps.


Step 1: Import an image that you wish to edit.

Step 2: Select the polygonal lasso tool and trace an outline around the area the face.

using the polygonnal lasso tool to trace an outline
Outline Traced Using The Polygonal Lasso Tool

Step 3: After tracing an outline around the face, select the option "subtract from selection" so that you can trace around other parts of the face and keep your previous traces.

Step 4: Using the polygonal lasso tool trace around the eyes, mouth and nostrils next.

tracing around the face
                   Outline Traced Around The Eyes, Mouth and Nostrils 

Step 5: Now use the polygonal lasso tool to trace around the eyebrows.

tracing around facial features
Eyebrows Traced Using The Polygonal Lasso Tool

Step 6: Go to Layer, New and select New Layer Via Copy and press the eye symbol to turn the first layers visibility off so you can only see the outline you traced on the face with the polygonal lasso tool.

creating a new layer via copy
The Traced Outline Of The Face

Step 7: Go to Filter, Blur and then select Gaussian Blur.

selecting a gaussian blur
Selecting The Gaussian Blur


Step 8: Set the radius of the blur to 15 pixels.

adding a gaussian blur
Applying The Gaussian Blur

Step 9: Press the eye symbol again so that the first layer is now visible. The layer with the Gaussian Blur is on top of the original image so the skin on the face will now appear smoother due to the blur that was applied.

the blur effect on the face
The Blur Effect On The Skin


                                                                           BEFORE

before airbrush
Before Airbrush Was Applied


                                                                          AFTER

after airbrush
After The Airbrush Was Applied


close
Banner iklan disini