Showing posts with label 3D Game. Show all posts

Thursday, October 6, 2016

Read BSPs - The Building Blocks of UE4 Now

BSP Brushes
Scene showing BSP Brushes

What is a BSP?

A BSP stands for Binary Space Partition. These are objects that placed onto your level. You find these in the Place Mode. There are a variety of different shapes to use for a BSP including cubes, cylinders and stairs.


Modes
Place Mode

Step 1: Dragging it out

Before we show how to drag in a BSP, we will first get rid of all of the BSPs already in the level. You can either hide or delete these by using the Scene Outliner.

Level
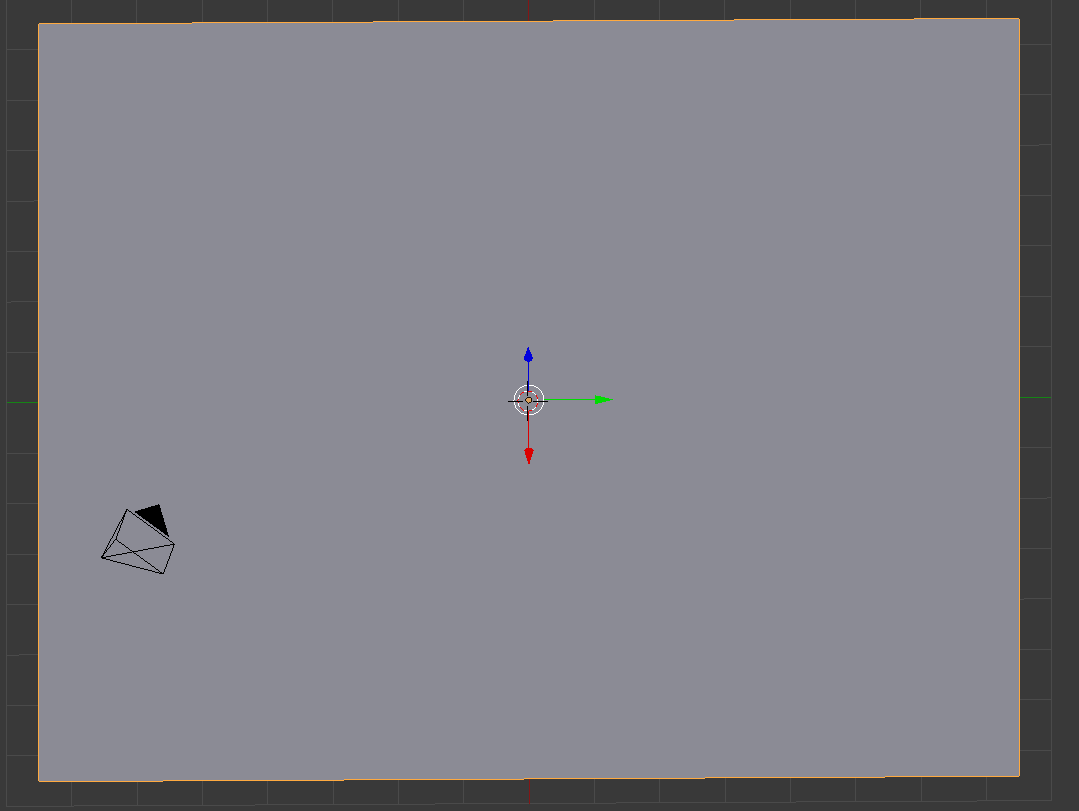
Blank Level

After all of the existing BSPs are removed, you can now drag in your own BSPs. You can start with an easy shape, for example a cube. You drag it out by clicking on to BSPs on the Place Mode, select your shape and drag it on to the level with your mouse.

Block Brush
Block

Cylinder Brush
Cylinder

Cone Brush
Cone

Step 2: Adjustments

When it’s dragged out on screen, you can use the mouse to adjust the camera angles so you know where exactly you want the shape. Also, by pressing the Space Bar, you change what sort of adjustments you want including direction, rotation and size.

Direction
Direction

Rotation
Rotation

Scale
Scale

If you ever want to use a BSP to make a building or a lighthouse, you need to make your BSP hollow. You do this by selecting your BSP, going to the Details Panel and ticking where is says HOLLOW.

Hollow Option
Hollow

If adjusted the size before you made it hollow, you will notice that it goes back to its original size. If this happens, you can still scale it back to how you had it. When a BSP is hollow, you can view it from the inside, you cannot do this when it’s solid.

Hollow Block
Inside Block

Step 3:Stairs

When you have a hollow cylinder or cube, you can also be able to drag in stairs into them. There are 3 types of stairs curved, linear and spiral. When making adjustments to your stairs, we recommend, using side view.

Curved Stairs
Curved Stairs
Spiral Stairs
Spiral Stairs

Linear Stairs
Linear Stairs
Side View
Side View 
Once you have all of your BSPs dragged onto your level, you can manipulate them for any use for your level that you want.

More Brushes
BSPs


Read How To Create A Tileable Texture Now

Tillable Texture
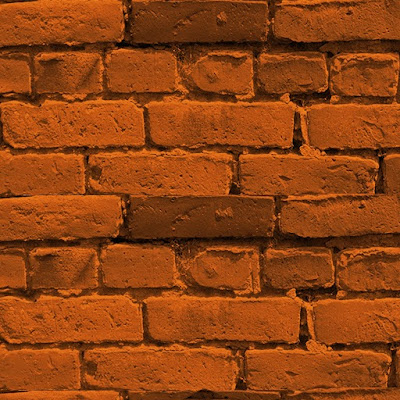
This image shows a finished texture that can be used in a game.

Steps To Create The "Diffuse" Texture


1. Search for an image that will be suitable for your game and an image that you want to be your tileable texture. the best website is http://www.textures.com/

2. Put an image that you want to be your texture in to Photoshop software.

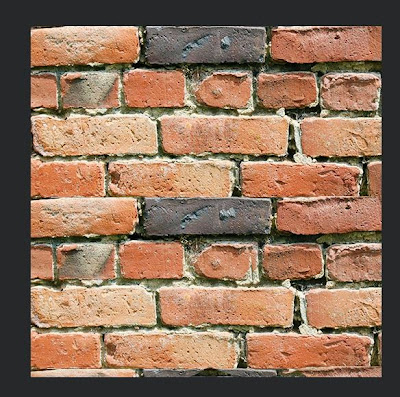
Brick Wall
This image shows the brick wall.

3. Crop the image, removing any potentially troublesome areas.

Crop Image
This image shows Crop tool has taken away part of the image.

4. Then resize image to be power of 2.

Image Resize
This image shows the Image size setting in power of 2.
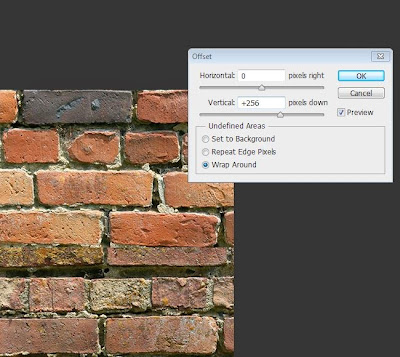
5. Press filter on top software tool bar than select other option and then select offset.

Offset
This image shows the right setting for offset.

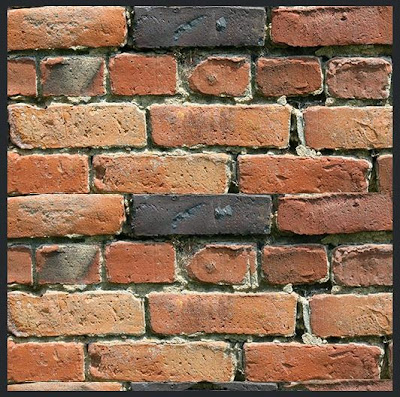
Offset divide image
This image shows an image that is divided into two parts the better one in on top and the bad one is on bottom of the picture. The bottom part will be covered with clone tool.

6. We will use clone tool to copy good parts of image.

Clone
This image shows that the clone tool created a copy of the top part of the image.
7. Use Sharpen tool to get rid of the blur but do not over use Sharpen tool because we get bad effect.

8. Use dodge tool to make shadows lighter and burn tool to make highlights darker.

Dodge
This image shows how you can make image brighter by using Dodge Tool.

Burn
This image shows how you can make image darker by using Burn Tool.

9. On tap bar go to Image\Adjustment\Hue and Saturation.Add Hue and Saturation adjustment the way that you want to make this texture more interesting. Make sure that there is not any defects.

Hue & Saturation
This image shows settings for Hue and Saturation Adjustment.

10. If everything is good and you are happy of effects save as targa file. You should save your targa with a resolution of 32 bits/pixel.

A finished texture
This image shows a finished texture that can be used in a game.

Steps To Create The "Normal" Texture

1. Search in Google for NVIDIA texture tool the best way to find it is: “NVIDIA Texture Tools for Adobe Photoshop”. If you cannot find there is a link for website where you can download NVIDIA plugging tool.

https://developer.nvidia.com/nvidia-texture-tools-adobe-photoshop

2. Press download and chose version of Windows that you work with either 32 bit or 64 bit.

3. When download is finish just install the program.

4. Open Photoshop and check in NVIDIA installed right be pressing filter and down in list should be NVIDIA Tool.

5. Open your texture targa file.

This image shows the file name and format that is saved.
6. Unlock layer so you can work with NVIDIA Tool.

This image shows layer blocked.

This image shows layer unblocked.
7. Go to filter and select NVIDIA Tool and take “NormalMapFilter” option.
This image shows setting of NVIDIA Tool.

This image shows some effect that we can get from NVIDIA Tool.
8. Duplicate the layer until you get effect that you want.

This image shows Duplicate layer which give better effect.

This image shows last step that you should take after last duplicate layer.

9. If you are happy of yours effect save in targa(tga) file.

This image shows saving mode.


This image shows a finished texture that can be used in a game. The texture is in targa(tga) file.


This image shows right format that you can save your targa format and it shows the resolution that you can chose the best options is 16 bits/pixel and 32 bits/pixel because is the power of 2.

This link shows Video Tutorial about how to install NVIDIA Texture tool and how creating Tillable texture.

The Next Step

Now that you have created the texture the next step is to import and add them to whatever software you need them for.


Read Blender Animation Basics Now

Title Image
Finished animation

What is animation in blender?

Animation is making an object move or change shape over time. You would use animation in blender for very obvious reasons such as making a character walk, run, crouch. making an object move around in your scene. Animating a scene so it becomes entertaining...etc. Objects can be animated in many ways. 

Moving as a whole object 

Changing their position, orientation or size in time.

Deforming them 

Animating their vertices or control points.

Character Animation via Armature 

Animated to deform by the movement of bones inside the mesh if you use a human model, a very complex and flexible interaction that makes character-shaped objects appear to walk and jump.

In this chapter we will cover the first two, but the basics given here are actually vital for understanding the following chapters as well. Three methods are normally used in animation software to make a 3D object move:

Key frames 

Complete positions are saved for units of time (frames). An animation is created by interpolating an object fluidly through the frames. The advantage of this method is that it allows you to work with clearly visualized units. The animator can work from one position to the next and can change previously created positions, or move them in time.

Animation Curves 

Curves are interpolated from keyframes, and can be drawn for each XYZ component for location, rotation, and size, as well as any other attribute in Blender. These form the graphs for the movement, with time set out horizontally and the value set out vertically. The advantage of this method is that it gives you precise control over the results of the movement.

Path

A curve is drawn in 3D space, and the Object is constrained to follow it according to a given time function of the position along the path.

The first two systems in Blender are completely integrated in a single one, the F-Curve system.

In Blender 2.5x, everything can now be animated. Previously, only certain datablock had the ability to be keyframed. Now users have the ability to animate nearly any type of data that can be changed to multiple values.

How to animate in blender

Go to scene editor and select animation. This is located at the top of the screen.

scene editor
scene editor
You should get a layout like as follows

layout of animation
layout of animation

2. Find any free space and press "I" then select LocRotScale and this should open up a tab that looks like this. We use this as it allows us to move the object more easily. 

Location/Rotation/Scale
LocRotScale

3. Next go to your timeline and select frame 10

10 Frames
timeline ten frames

Then move your object along the axis by pressing G + Y then move it to your desired location

moving an object on frame 10
moving object frame 10

Then press I and this will complete your keyframe

4. Now select frame 20 and move your object further down the axis rotate it as well by pressing "R" and moving it

moving object on frame 20
moving object 20 frames

timeline 20
timeline 20

5. Continue these steps until you have at least 100 frames then move the amount of frames down to 100

6. Next you go to the render tab and select render animation

7. Next press Ctrl +F11 and that will play your animation. That is your animation completed.