Showing posts with label using BSP brushes. Show all posts

Thursday, October 6, 2016

Read How to create swimmable water in UE4 Now


In this tutorial I will show you how to create water that your character can swim in. 

Step 1: Adding in BSP Brush

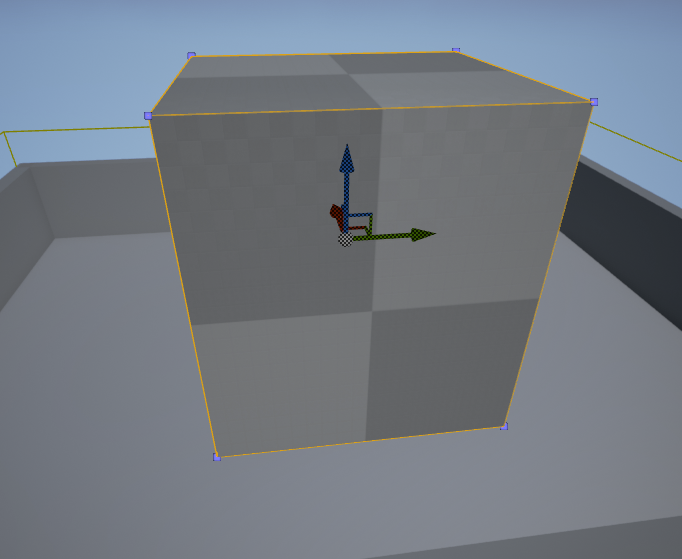
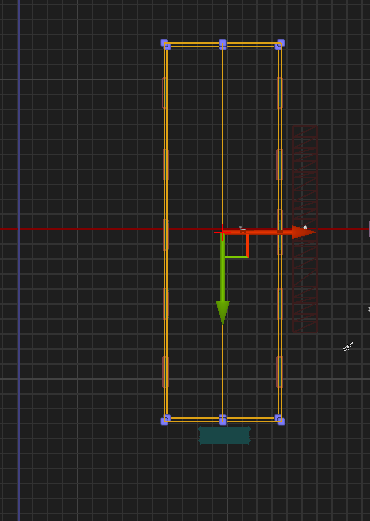
To create water we first need somewhere to put it, so I am going to drag out a box.

BSP box brush.
BSP box brush.


Step 2: Creating and resizing subtractive brush

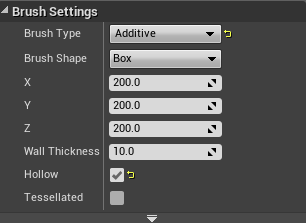
Then duplicate that box and change the brush type to subtractive. To duplicate the box you can go to the scene outliner panel, right click on the box and go to edit and select duplicate.
Box brush in scene outliner.
To change the brush type, go to the details panel, under brush setting. Where is says brush type click and select subtractive from the drop down bar.


Brush settings - Additive
Resize this box to create a hole in the first box, this is where we can put the water. You can resize the box in the details panel under transform, just so it’s a bit smaller than the other box.

Transform options.
Transform options.

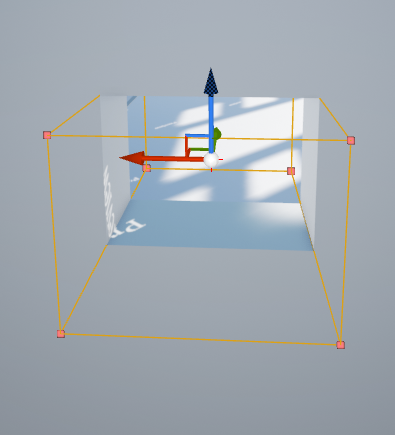
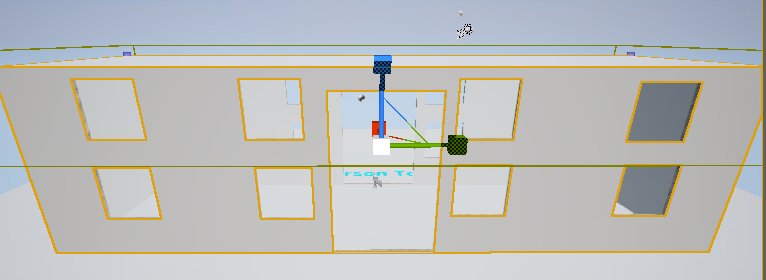
Step 3: Adding physics volume

Go to the modes panel, in placement mode. Select volumes, scroll down until you see “physics volume”. Drag in a physics volumes, make it a little bigger than the subtractive box. 

Physics volume.
Physics volume.

On the details panel under character movement tick the box beside water volume, and under volume tick the box beside physics on contact.

Water volume and physics on contact location on details panel.

Step 4: Adding in post process volume

Now duplicate the physics volume, and in the details panel under actor go to convert actor and in the drop down select “PostProcessVolume”.

Convert actor.
Convert actor.
In the details panel, under scene colour make sure to tick the first three boxes. Beside scene colour tick that box and then double click the space beside it and you can change the colour to a shade of blue, this just makes it look like you are under water when you are in play mode. 

Scene colour options.

Step 5: Creating water surface

To add the water drag out another box, and this time add a material to it. To apply a material to the box, select it. Go to the details panel under brush setting and extend the tab, select create static mesh.


Create static mesh.
Create static mesh.
When you click this the select path screen opens, you name the static mesh and then click create static mesh.

Name and create static mesh.

Go to the content browser, extend starter content and click materials. Then search water in the search bar. Then choose one of the water materials that comes up and drag it onto the static mesh you just made.

Select material.
Select material.

Step 6: Adding a water material to the static mesh

Now click onto the viewport, and you will see the material isn't working yet.

You will see this on your static mesh.

Go back over to the details panel under static mesh and double click static mesh.

Static mesh in detail panel.

The editor will open, make sure you have the material selected in the content browser when you are doing this. Click on the little arrow beside the material in the editor, it’s in the upper right hand corner. Then save and close the editor.

Editor.
Editor.

Material in content browser.

Step 7: Making the water more realistic

Click on your post process volume, using the details panel you can add Depth of field. This gives the impression of blurred vision when under the water. I ticked the first two options under the depth of field tab. Beside method choose Gaussian in the drop down and set focal distance to about 1000.

Depth of field in details panel.

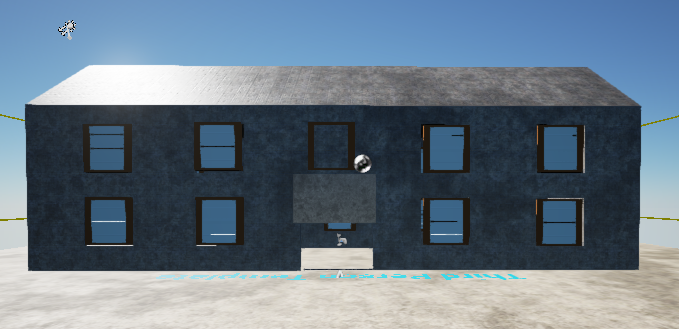
Step 8: Testing the water

Now right click on your view port and select play from here to test your water.

Character on screen.


Read UE4 Tools and Brushes Now

In this tutorial I will be showing you what tools and brushes are available to us in Unreal Engine 4 and what they are used for, giving you a basic understanding of what each does.

Tools and brushes in the modes panel.


Most of the tools and brushes can be found in the modes panel, which is located in the upper left corner of your screen.

BSP Brushes

Starting off in placement mode which is the first mode to the left. Here we can find the BSP brushes.
BSP brushes.
BSP brushes.
You can choose from a box, cone, cylinder, curved stair, linear stair, spiral stair and sphere BSP brushes. To use them you just click, drag and drop onto your level. BSP brushes can be used to create buildings and other objects in your game.
At the bottom of the panel on the BSP section you have the option to change the brush to add or subtract.

Paint

Paint.
Paint.
The paint tool can be used to paint your landscape, to paint texture onto static meshes and basic colours onto static meshes.

Landscape

Landscape.
Landscape.
In landscape mode, first of all you need to create your landscape. You can choose the size, change dimensions and basically make the landscape anyway you want. Then when you are happy with it click create. If you go wrong just click on the landscape on the view port and hit the delete key on your keyboard.


Editing and creating landscape options.
After creating you can now use the sculpt and paint tools in landscape mode.

Foliage

Foliage.
Foliage.

To use this you need to import a static mesh, something like grass, flowers or a tree.
You can download a good quality static mesh from the internet, then bring it into blender and delete all unnecessary objects which means everything but the actual mesh itself.

Mesh opened in blender.

 Make sure the materials are unpacked, you check this in the materials tab when you are clicked on the mesh. You can check this by clicking on the go to file, export, select .fbx and save.

New folder and import button.


Then in unreal engine, in the content browser (as seen in the image above), under game make a new folder called meshes and in this folder import your .fbx file.

Drag and drop area in foliage.

When you have that done simply click and drag the static mesh up to the modes panel in foliage.

After dragging and dropping the mesh into foliage.

Now you can edit the mesh you imported, by adding multiple texture and adding effects to the colour.

Geometry

Geometry.
Geometry.
In geometry editing mode you can edit objects in your level. Just click on the face of the object you want to edit and select witch feature you want to use. 


Saturday, February 13, 2016

UE4 BSP & Geometry

This tutorial is the fourth in the 10 part series on how to create a first person shooter game using Unreal Engine 4. We recommend you read the previous articles first to get the maximum benefit from this tutorial.

Game BSP and Geometry

In our game we will be creating just one main building, however you can use the same steps covered below to create multiple buildings if you wish.

UE4 BSP & Geometry
Basic Building Structure

Step One

To begin, in the place tab go to the BSP section and select a cube. Drag and drop it into your game.

image above shows a cube you can get in your BSP folder
With the cube still selected, in the details panel, select the hollow option as shown below. A wall thickness of 16 is also recommended.

Make sure you select hollow its on the right side 
You will also want to change the width and height of the cube. We have used values of 1024 on the X, 2048 on the Y and 1024 on the Z. Alternatively you can select the cube and press the space bar to toggle the widget to get to scale mode and manually scale the cube to whatever size you want.

Step Two

We will now create windows and a door. In order to do this you need to go back to the BSP section and select and drag out a cube again. After bringing your cube into your game you will then want to place it at the part of the building that you want your window to be and scale it using the values in the details panel or manually using the scale widget as we did earlier. When you have it lined up, in the details panel you will change the cubes brush type to subtractive.


Set the brush type to subtractive in the details panel of the cube

This will subtract a part of the wall out where the brush is positioned, as shown below. 

when you select subtractive it will come up like this
Simply repeat this process for the other windows and the door.


The main building structure with the windows and door cut out.

Step Three

In this step you will be adding a material to cover your building in. In order to get a texture you will first have to go into your materials folder and search for a material that suits. You may choose to use the material that was created in the previous tutorial. Once you have selected the material you want, simply drag and drop it on the surface of the building.

when the materialis placed down on the object it will look like this

In the details panel of the building (BSP cube) you can select multiple surfaces at apply the material to them all at once. The material can also be scaled, nudged, rotated and positioned using the options in this panel.


Step Four

In this step we will be creating the pitched roof of the building. First select the building and then change from place mode to geometry mode in the modes section as shown below.

Geometry Mode

You will then need to select an edge (this can be difficult so be patient) on the side of the building. If you find this very difficult in perspective view you could switch to a top down view as shown below.

A top down wire-frame view

Once you have an edge selected the split option will become active in the geometry panel. After selecting split you will then see a line going down the centre of your building. Now simply select this line and bring it up on the Z axis (blue) to create the pitch for the building's roof as shown below.

it is important top note that when you pull the top part of the roof the inside is still flat

Step Five

Now that the basic structure of the building is complete you can begin editing it or adding details such as a porch area, columns, steps and more all using the shapes from the BSP section. The image below shows the main building used in our First Person Shooter Game.


Next Up

In the next tutorial we will show you how to create a pick-up/collectable for the FPS game.


close
Banner iklan disini