

 |
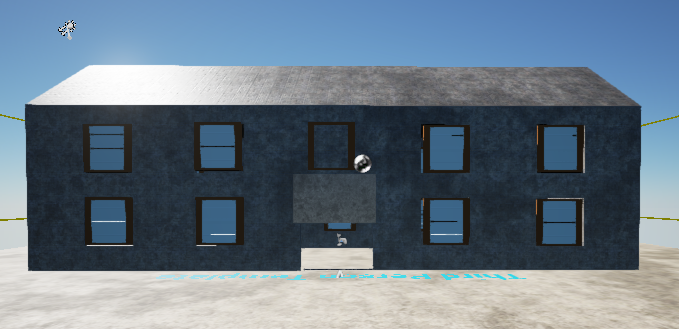
| Finished result |
BUILDINGS
Step one
The first thing you need to do when making a building on unreal engine is to delete the default stage you receive. After deleting the default stage you will want to go into your BSP folder select a cube and drag it out into your game. Make sure that you select the hollow option when using the cube.
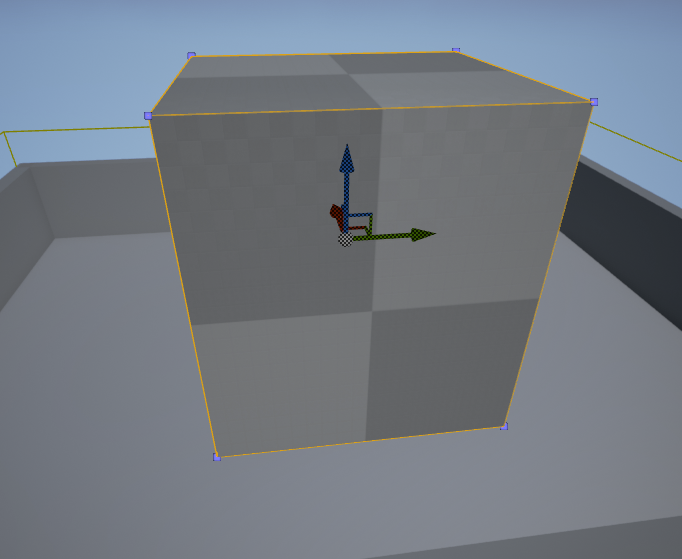 |
| image above shows a cube you can get in your BSP folder |
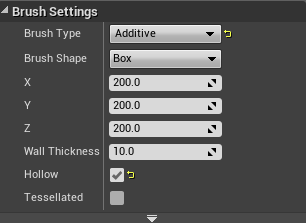 |
| Make sure you select hollow its on the right side |
Step two
For the next step you will want to change the width and height of the cube. You will have to press the space bar twice and scale your cube to whatever size you want to have your building at.
 |
| Make sure you press the space bar to scale |
Step three
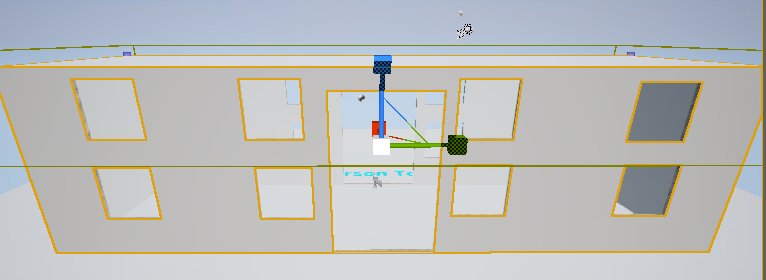
You will design windows and a door. In order to do this you need to go back into your BSP folder and select and drag out a cube. After bringing your cube into your game you will then want to line it up to the part of the building that you want your window to be at. When you have it lined up you will change the cube to subtractive and this will take a part of the wall out. To create the door just scale your cube to a length and width that suits you then change it to subtractive.
 |
| this will allow you to put square holes in the building for your windows |
 |
| when you select subtractive it will come up like this |
Step four
In this step you will be adding a texture to cover your building in. In order to get a texture you will first have to go into your materials folder and search it for a material that suits you.
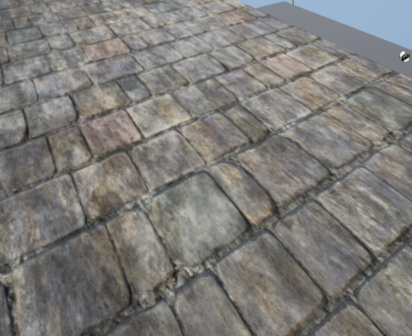 |
| when the texture is placed down on the object it will look like this |
 |
| when you select apply your textuyre will change and become more realistic |
When you find a texture that you like your have to select your texture and drag it out onto your object. After dropping the texture on to the object you will have to click onto the apply option.
STEP 5
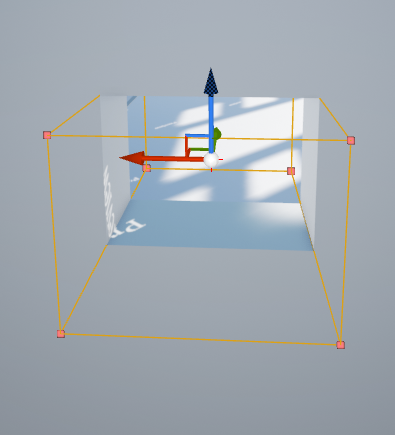
In this step we will be creating the roof of the house. You have to change from perspective view to top view. This will send you into wireframe mode. You will then select the bottom part of the house and then in your options select split. After selecting split you will then see a line going down the centre of your roof you will select this line and bring it up.
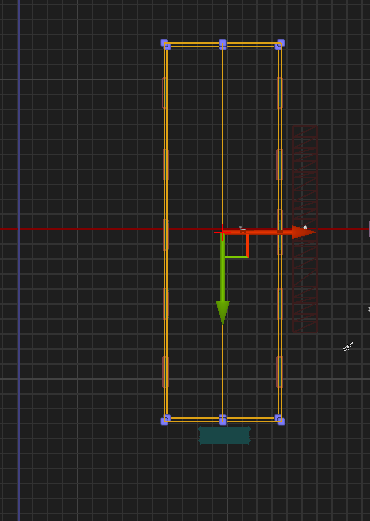 |
| when making your roof you should go into wireframe mode as it will make things clearer for you |
 |
| it is important top note that when you pull the top part of the roof the inside is still flat |
STEP 6
In this step you will then go onto blend swap and find a window for your house. In order to search for a particular static mesh you have to select the search option above and then type into the search bar.
 |
| go to blend swap to find an ideal mesh |
 |
| you can search for one by typing it in the search option |
STEP 7
When you find a static mesh you like you will then download it. After downloading your static mesh you will then want to extract your files somewhere that will be easy to find. After extracting your file you will then want to go open it up in blender.
 |
| when you find an ideal mesh click the orange button to download it |
 |
| after downloading it you should extract the files |
STEP 8
In this step you will then want to import your static mesh into your game. You will want to go into file then export then select autodesk FBX. After selecting this you will then want to go to your side toolbar and select mesh. You will then want to go into your props folder and select import. After selecting import just find your static mesh and click on it this will bring it into your game.
 |
| make sure to select mesh |
 |
| your mesh will be in the props folder |
 |
| you will then want to select the import option |
STEP 9
In this step you will want to drag out your static mesh onto your game. When you drag your mesh out you might have to scale it depending on how big you might want it. After you have your mesh to the right size you will then want to place your window in the hole you made earlier. The same steps are used for the door.
 |
| when you have one window done you can just duplicate it |
STEP 10
In this step you will make a door for your building. Since my building is a ware house type of building il be making a garage type door for it. It is important that you scale your door to an ideal size for your building a garage type door might not be suited for your building. In order to make a door you need to go into your BSP folder and then drag out a cube. After you drag out your cube just scale it to whatever size suits you.
 |
| the last thing to do is make a simply plane that looks like a door |


