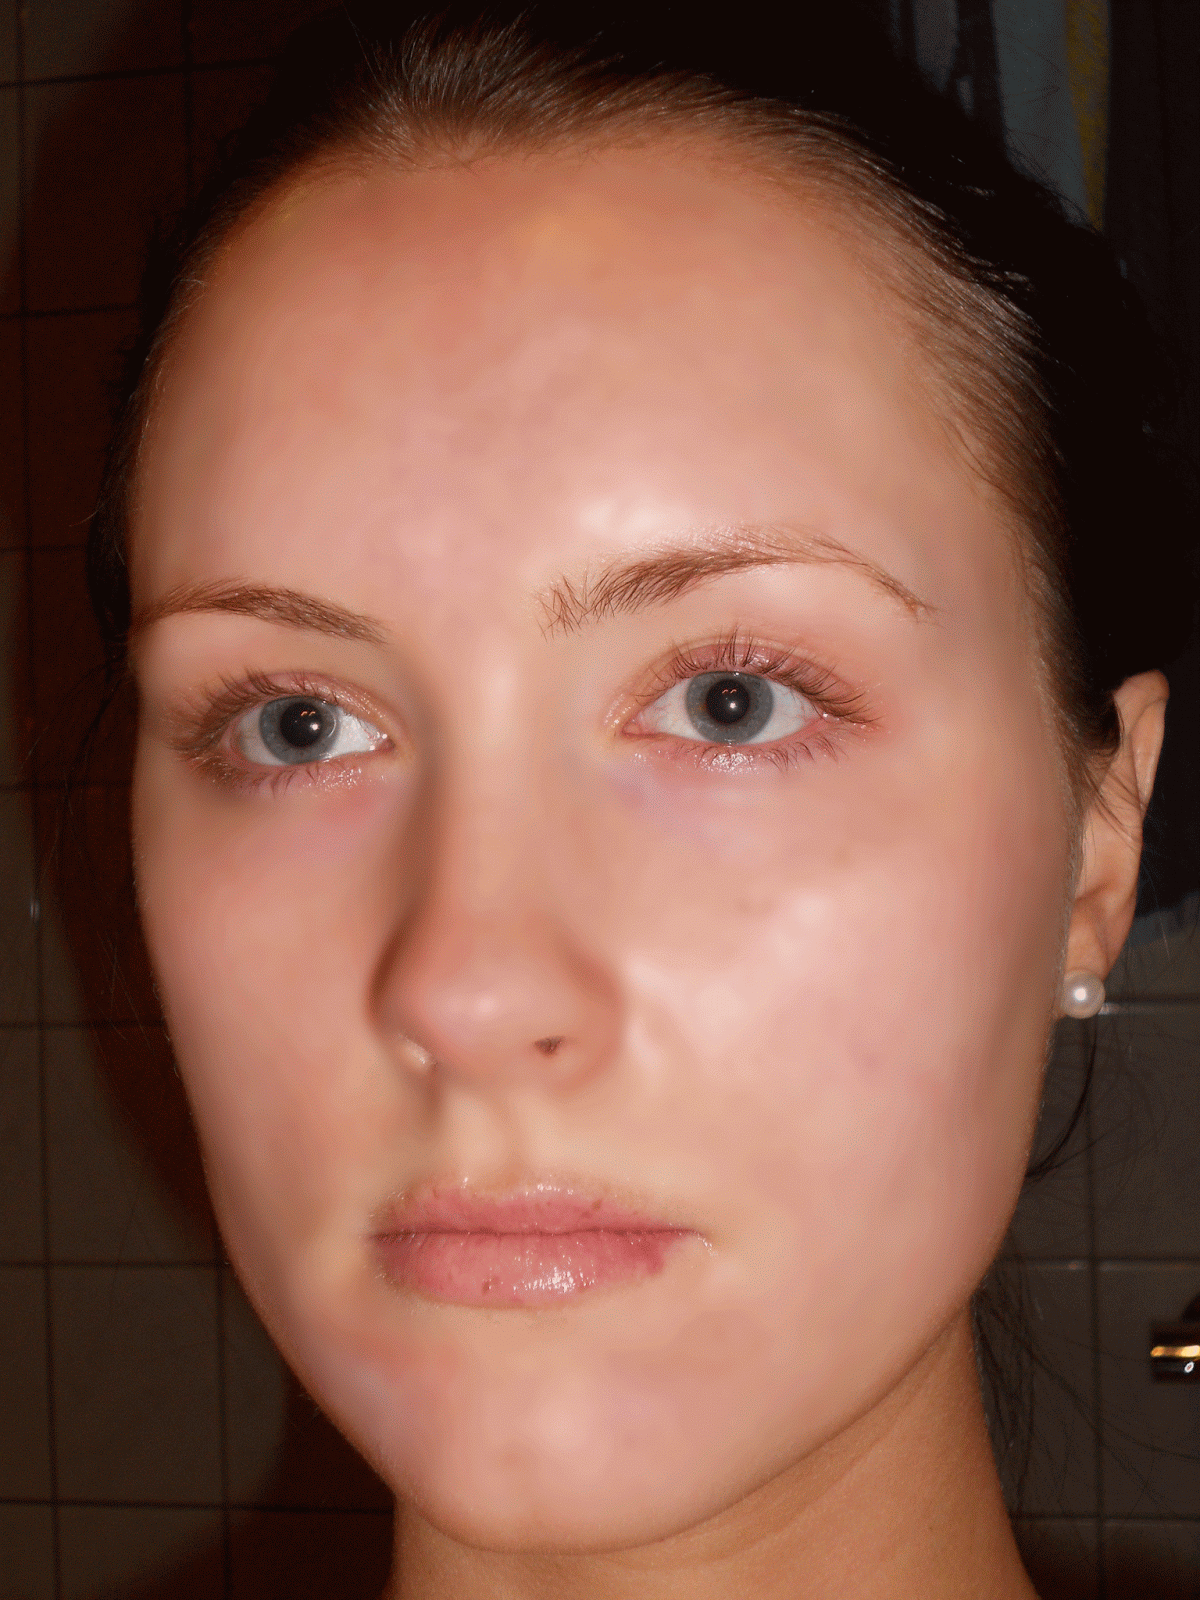
Airbrushing models skin is very common in many the photo editing industry today and has been for some time. This short tutorial will teach you how to airbrush skin in a few easy steps.
Step 1: Import an image that you wish to edit.
Step 2: Select the polygonal lasso tool and trace an outline around the area the face.
 |
| Outline Traced Using The Polygonal Lasso Tool |
Step 3: After tracing an outline around the face, select the option "subtract from selection" so that you can trace around other parts of the face and keep your previous traces.
Step 4: Using the polygonal lasso tool trace around the eyes, mouth and nostrils next.
 |
Outline Traced Around The Eyes, Mouth and Nostrils |
Step 5: Now use the polygonal lasso tool to trace around the eyebrows.
 |
| Eyebrows Traced Using The Polygonal Lasso Tool |
Step 6: Go to Layer, New and select New Layer Via Copy and press the eye symbol to turn the first layers visibility off so you can only see the outline you traced on the face with the polygonal lasso tool.
 |
| The Traced Outline Of The Face |
Step 7: Go to Filter, Blur and then select Gaussian Blur.
 |
| Selecting The Gaussian Blur |
Step 8: Set the radius of the blur to 15 pixels.
 |
| Applying The Gaussian Blur |
Step 9: Press the eye symbol again so that the first layer is now visible. The layer with the Gaussian Blur is on top of the original image so the skin on the face will now appear smoother due to the blur that was applied.
 |
| The Blur Effect On The Skin |
BEFORE
 |
| Before Airbrush Was Applied |
AFTER
 |
| After The Airbrush Was Applied |


